Wedding photography is a highly specialized field in photography. It requires an in-depth understanding of lighting techniques and equipment to capture stunning, memorable images. The proper lighting can make all the difference in wedding photography. It can elevate the mood of the photographs, highlight the details, and bring out the emotions of the wedding day. Let’s explore the importance of lighting in wedding photography, different types of lighting equipment, lighting tips for beginners, and common lighting mistakes to avoid.
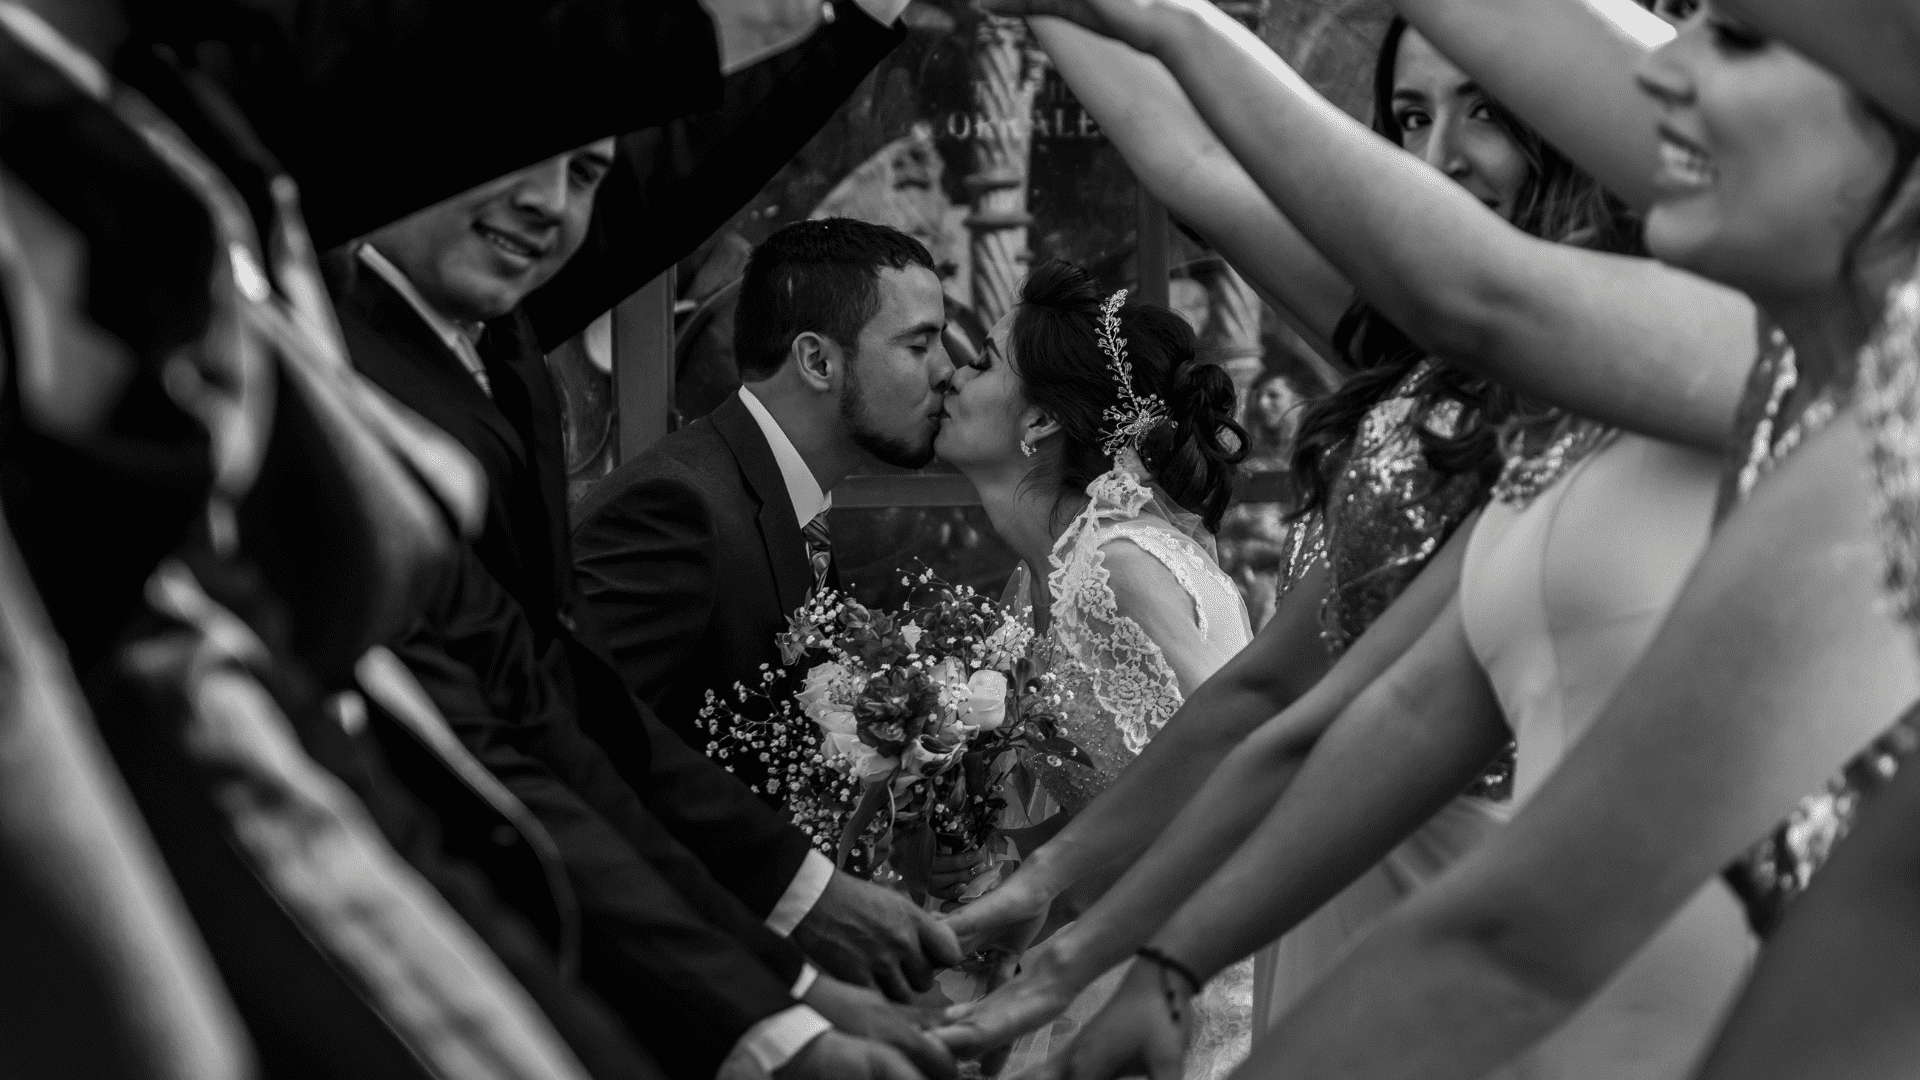
Lighting is one of the most essential elements in wedding photography. It can make or break the images. Poor lighting can result in dull, flat, and unflattering images, while good lighting can enhance the beauty and emotional impact of the photographs. Lighting sets the mood, creates depth, and adds dimension to the images. It can make the bride’s dress sparkle, the groom’s smile shine, and the overall ambience of the wedding come to life.
Understanding the Basics of Lighting in Photography
To achieve better lighting in wedding photography, it is essential to understand the basics of lighting. Photography has three fundamental aspects of lighting: intensity, direction, and colour. Intensity refers to the brightness or the amount of light in the scene. Direction refers to the angle at which the light is coming from. Colour refers to the hue or temperature of the light.
Different Types of Lighting Equipment for Wedding Photography
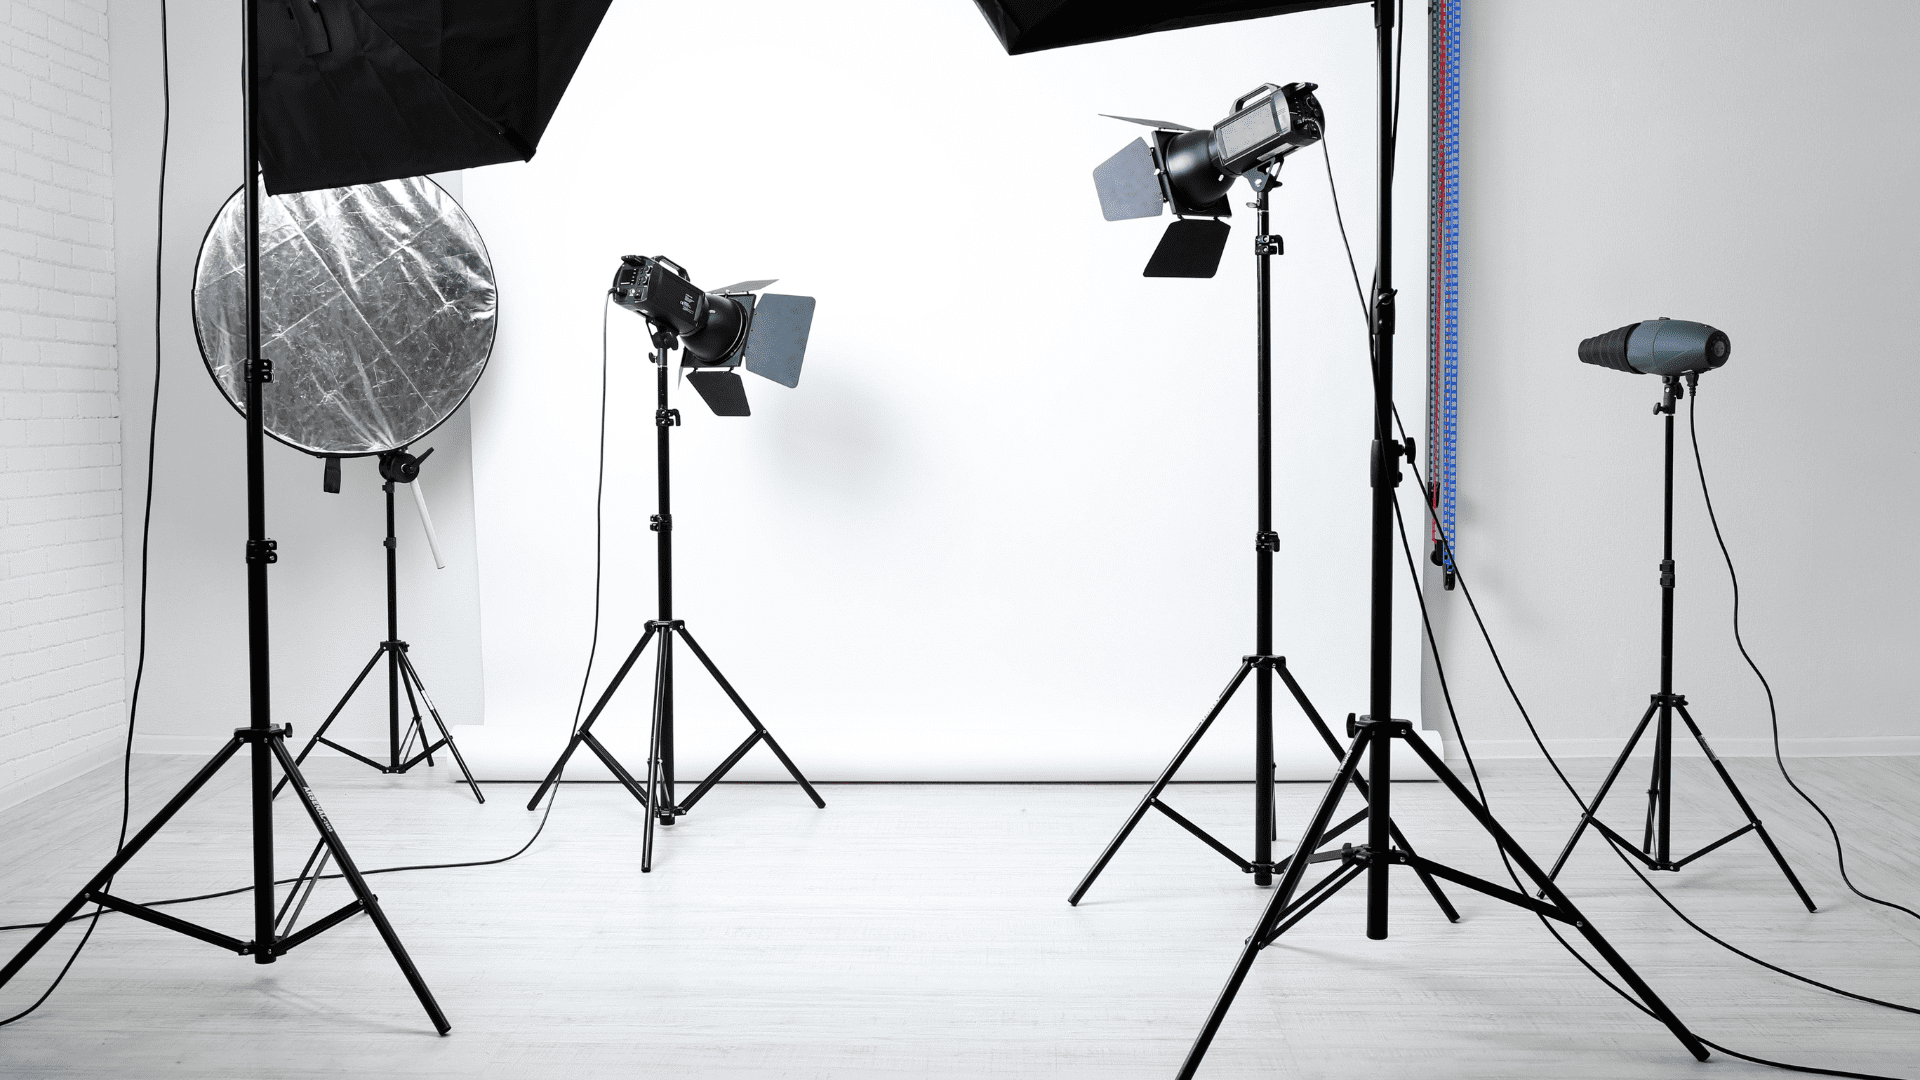
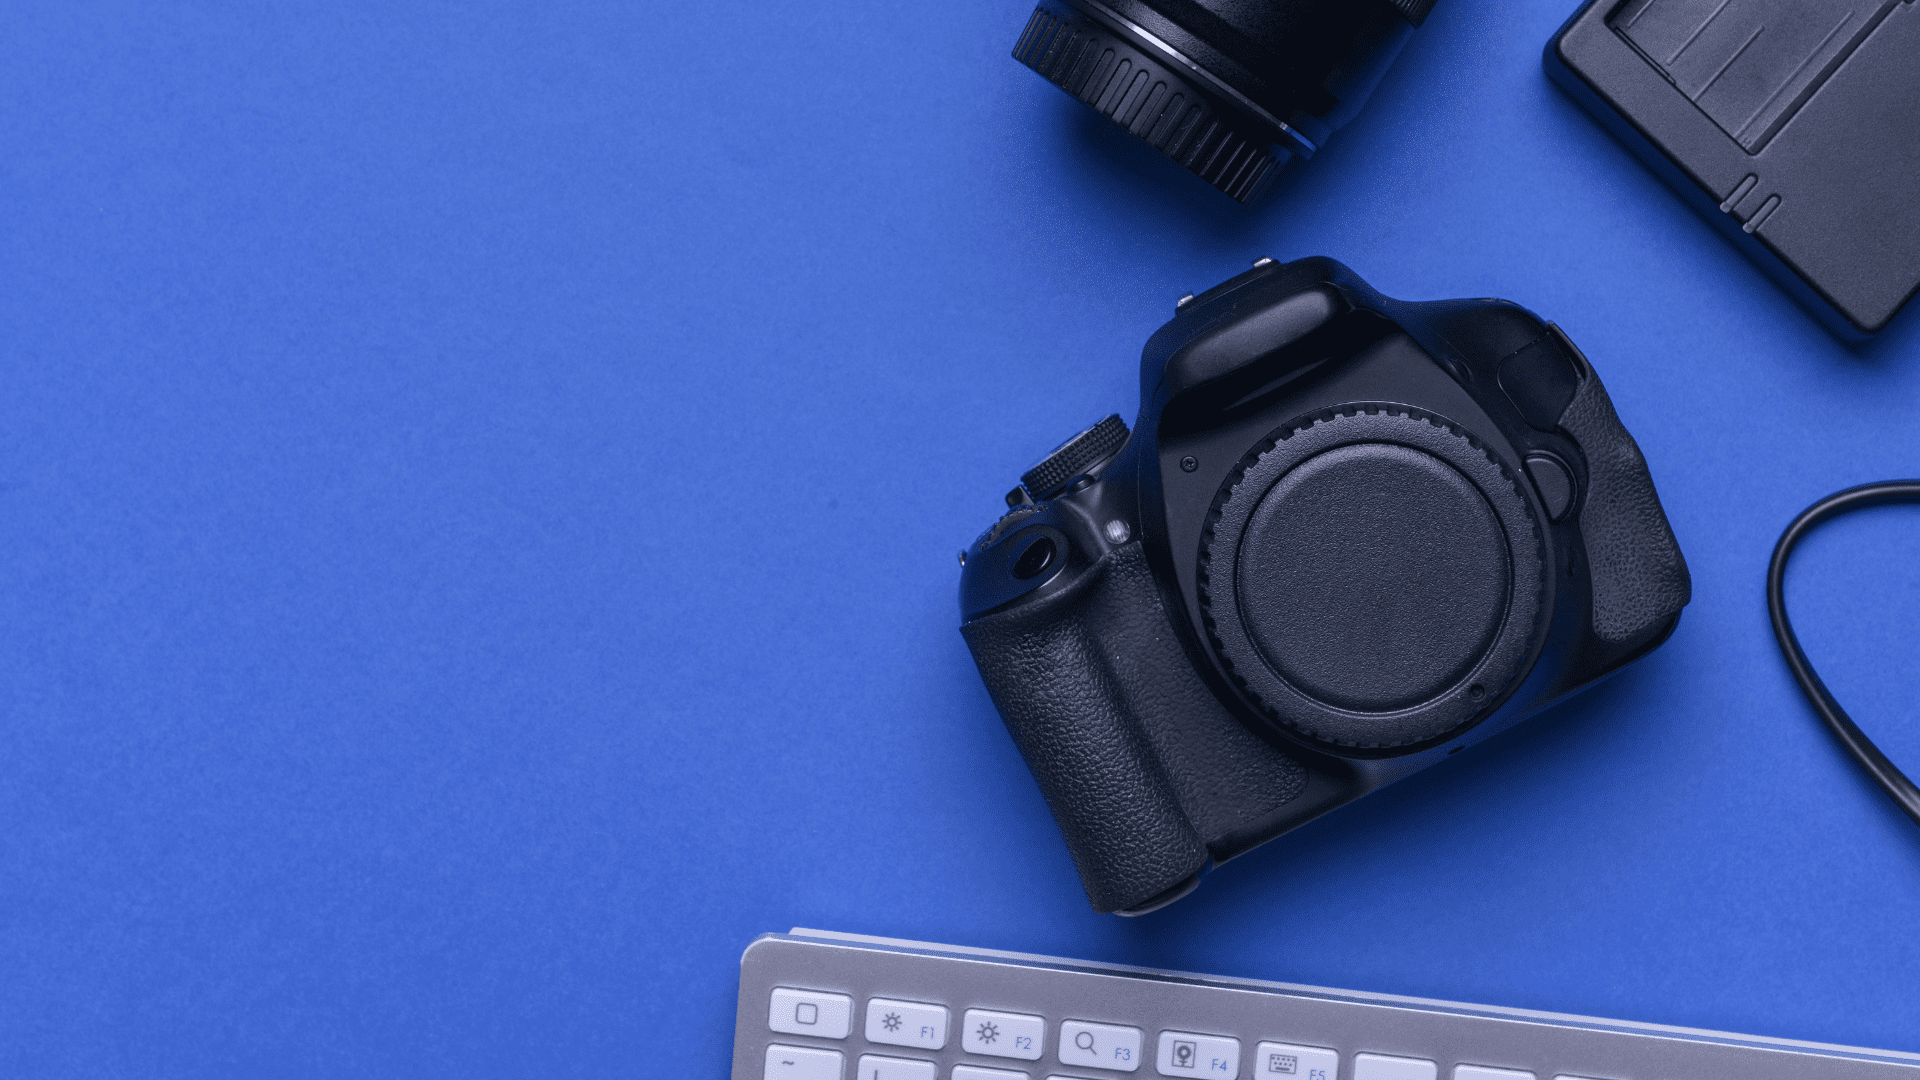
Various types of lighting equipment are available in the market for wedding photography. The choice of lighting equipment depends on the photographer’s style, budget, and preference. Some of the most commonly used lighting equipment for wedding photography are:
Item 1: Speedlights
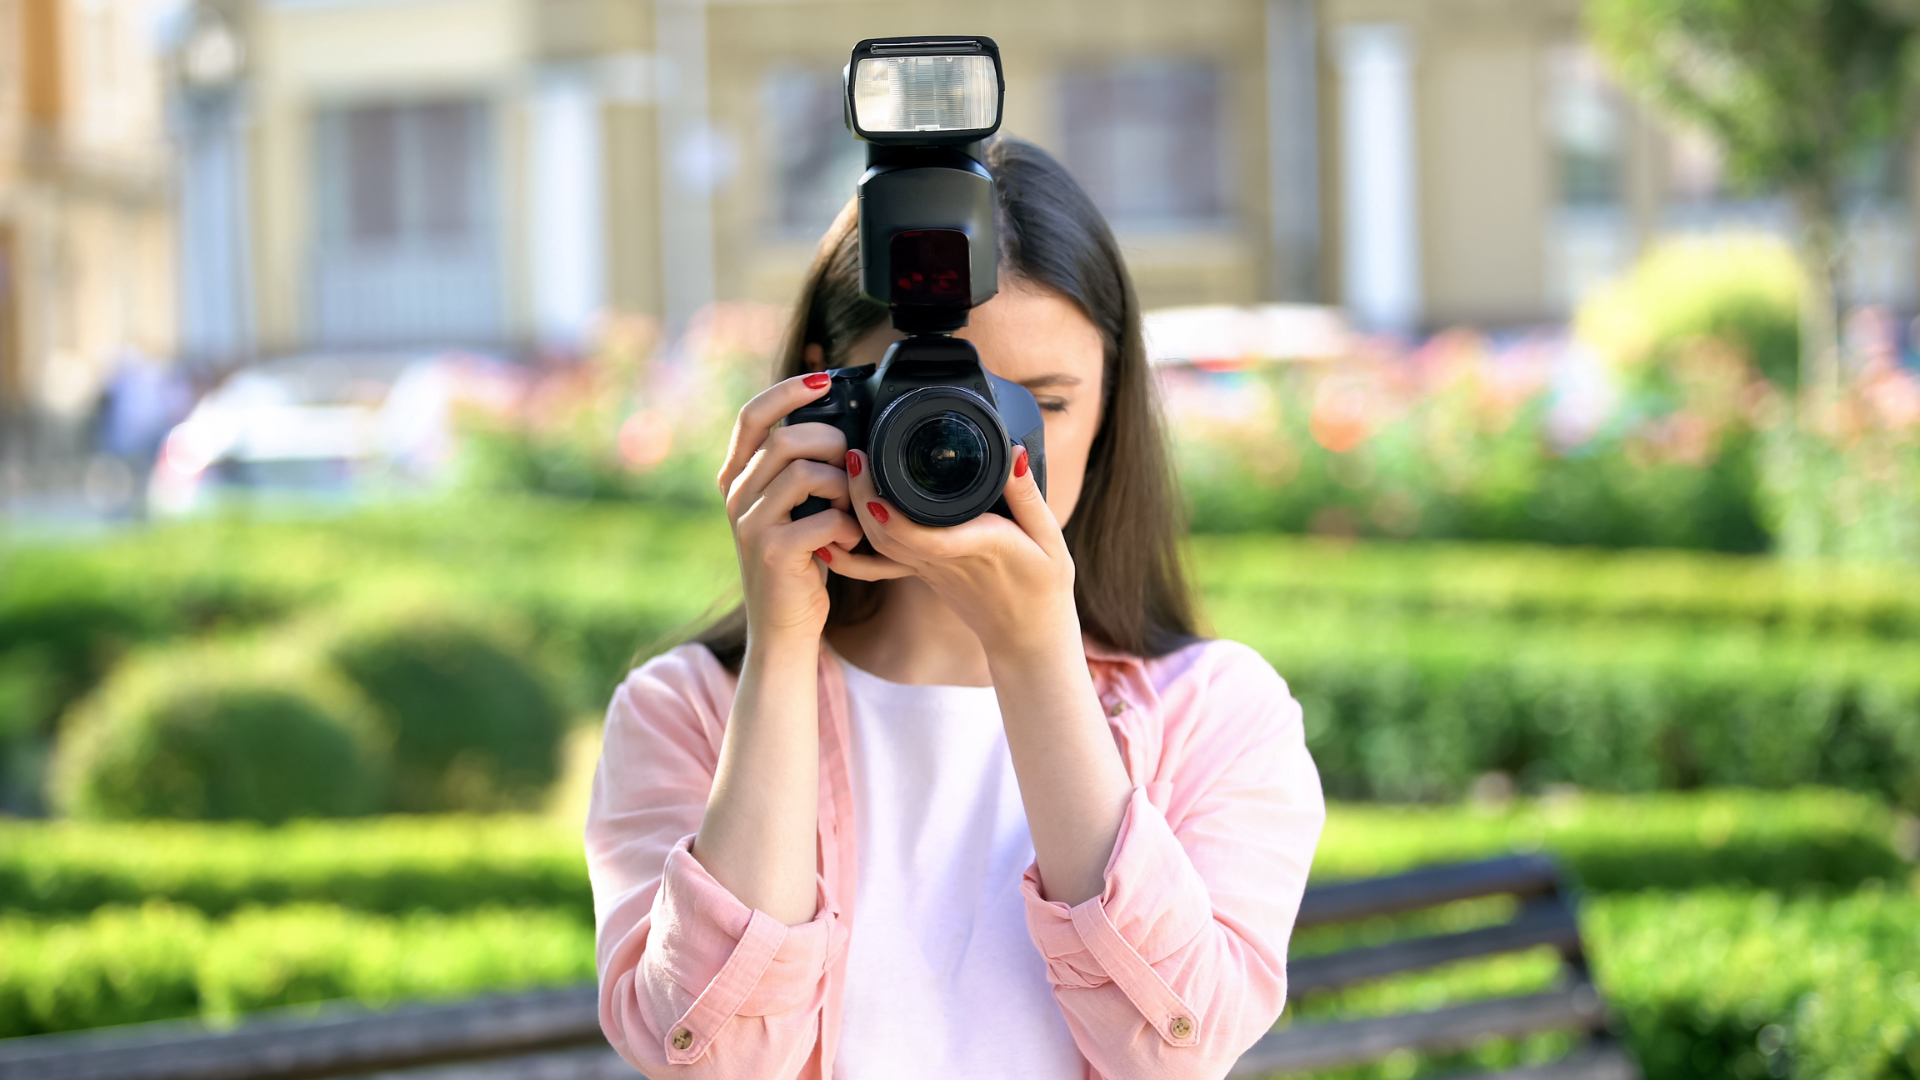
These are small, portable flashes that attach to the camera’s hot shoe. They are easy to use and ideal for on-the-go photography.
Item 2: Strobes
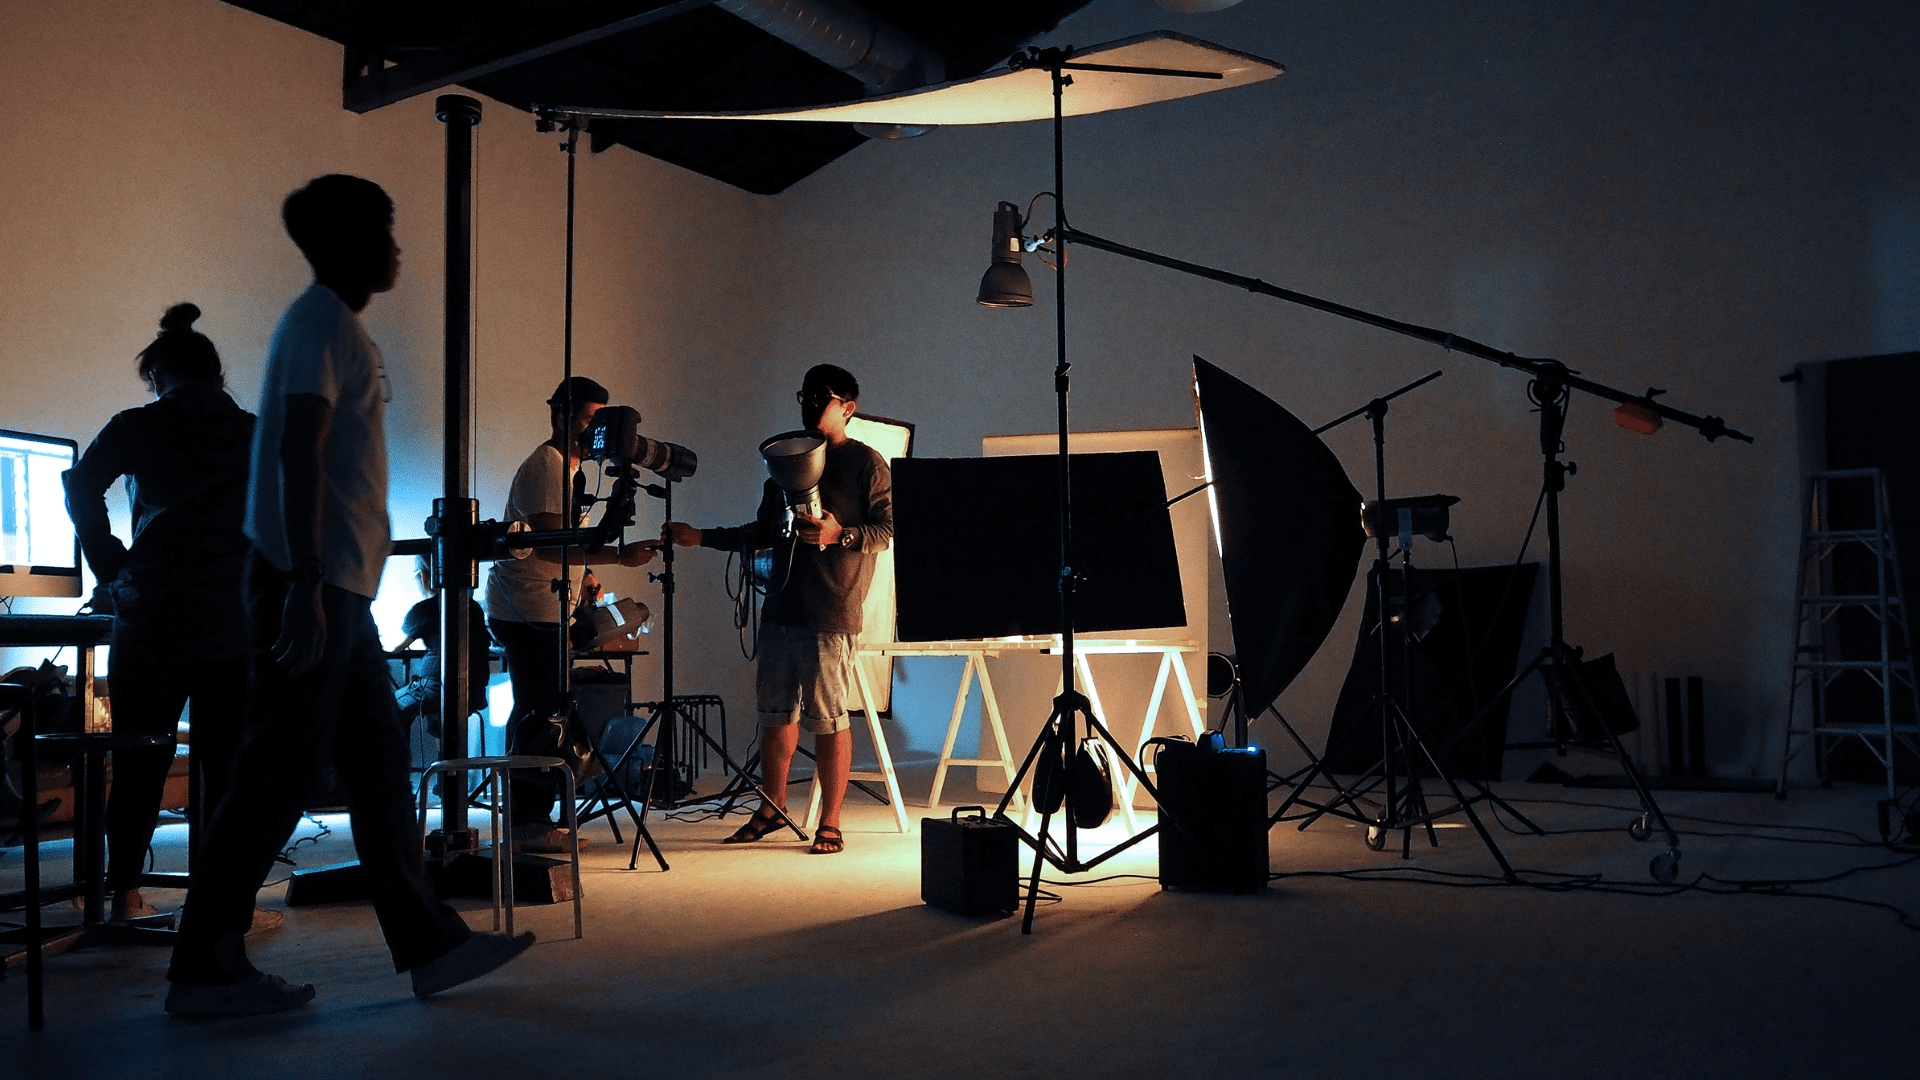
Strobes are powerful flashes that can be used off-camera. They are ideal for studio and indoor photography.
Item 3: Continuous lights
These stay on continuously, providing a constant light source. They are ideal for video and portrait photography.
Tips for Better Lighting in Wedding Photography
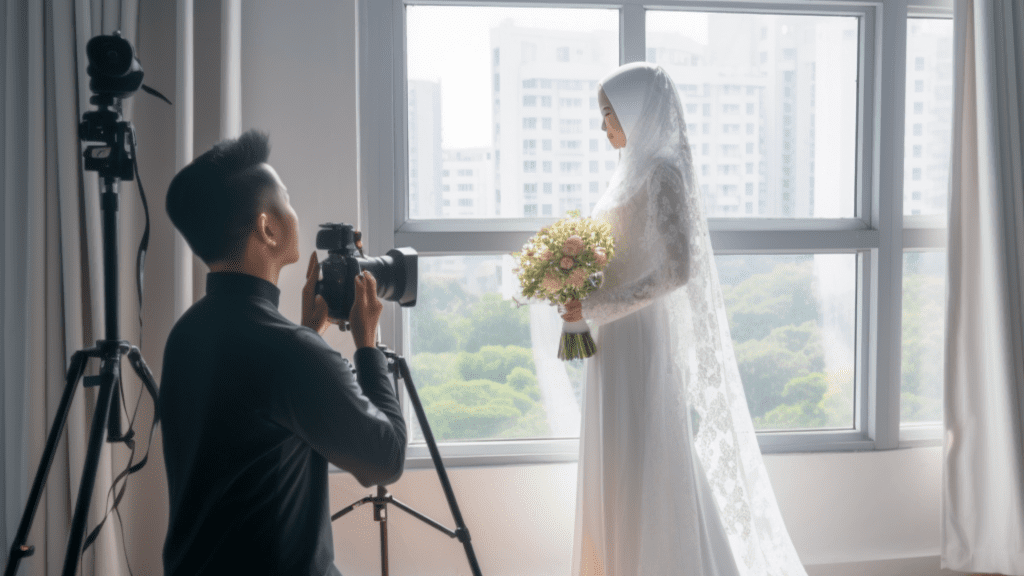
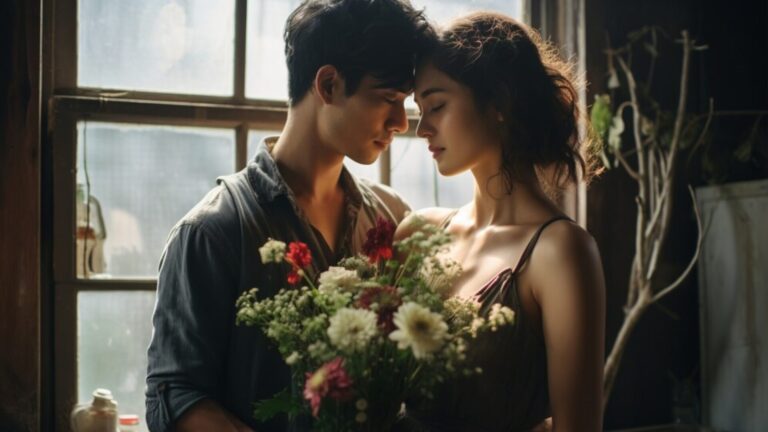
- Use natural light whenever possible – Natural light is the most flattering and beautiful light source for wedding photography. Look for windows, doors, and other natural light sources to create stunning images.
- Avoid harsh light – Harsh light can cast unflattering shadows and create a flat, dull image. Try to shoot during the golden hour or in the shade to avoid harsh light.
- Use reflectors – Reflectors are inexpensive to bounce light onto the subject. They can fill in shadows and create a more even light.
Techniques for Using Natural Light in Wedding Photography
Natural light is one of the most beautiful and versatile light sources for wedding photography. Here are some techniques for using natural light in wedding photography:
Technique 1: Backlighting
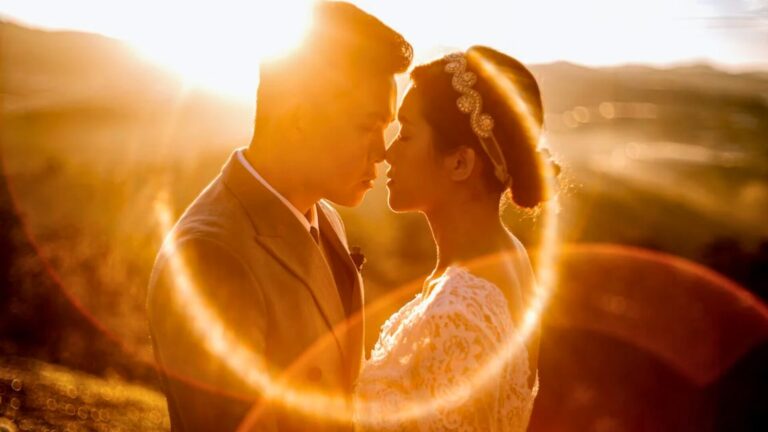
Backlighting is when the light source is behind the subject. It creates a beautiful halo effect around the subject and highlights the details.
Technique 2: Silhouetting
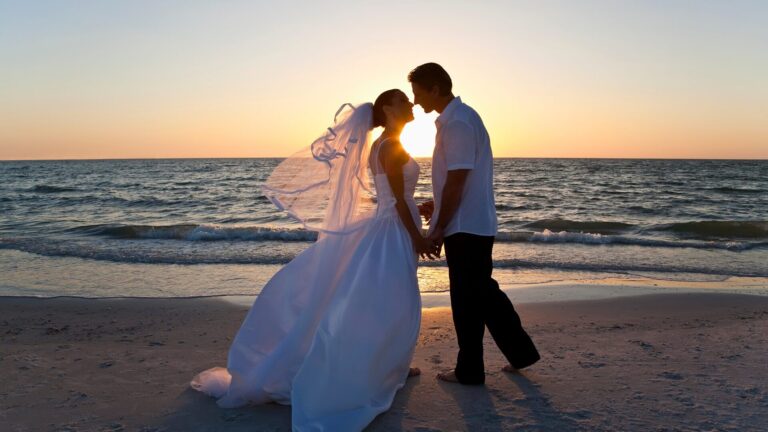
Silhouetting is when the subject is in front of a bright light source, such as the sun. It creates a dramatic, high-contrast image.
Technique 3: Side lighting
Side lighting is when the light source comes from the subject’s side. It creates depth and texture in the image.
Creative Ways to Use Artificial Lighting in Wedding Photography
Artificial lighting can add drama, mood, and creativity to wedding photography. Here are some creative ways to use artificial lighting in wedding photography:
Technique 1: Light painting
Light painting is a technique where the photographer paints with light using a flashlight or a light source. It creates a magical, dreamy effect.
Technique 2: Off-camera flash
Off-camera flash is when the flash is positioned away from the camera. It creates a more natural and flattering light.
Technique 3: Coloured gels
Colored gels are filters that are placed over the light source to add colour. They can be used to create a unique and creative look.
Common Lighting Mistakes to Avoid in Wedding Photography
Mistake 1: Overexposure
Overexposure is when the image is too bright and loses detail. It can happen when the photographer uses too much light or sets the exposure too high.
Mistake 2: Underexposure
Underexposure is when the image is too dark and lacks detail. It can happen when the photographer doesn’t use enough light or sets the exposure too low.
Mistake 3: Unflattering shadows
Unflattering shadows can be caused by harsh light or improper positioning of the light source. It can make the subject look unflattering and unappealing.
Lighting Tips for Photography Beginners
Tips 1: Start with natural light
Natural light is the easiest and most forgiving light source for beginners. Start by practising in different lighting conditions and learning how to use reflectors.
Tips 2: Experiment with artificial lighting
Once you feel comfortable with natural light, experiment with artificial lighting. Start with speed lights and move on to more advanced lighting equipment.
Tips 3: Study lighting techniques
Study lighting techniques and learn how to use different types of lighting to create different moods and effects.
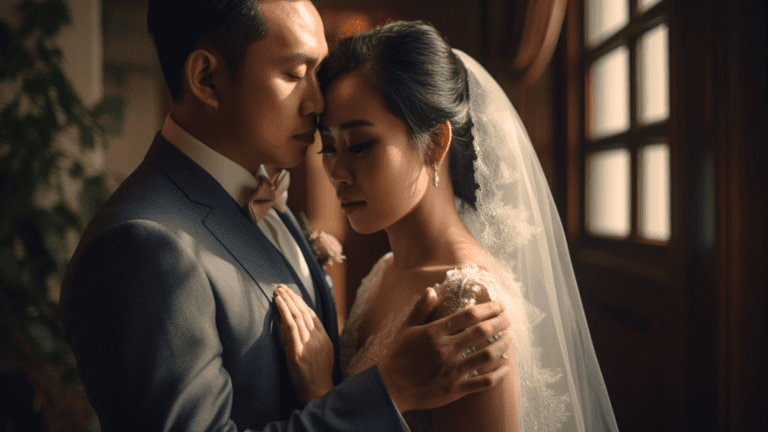
perfect lighting with perfect photographer in 50 Gram Wedding
Perfect Lighting for Photography: How to Achieve It
Perfect lighting for photography combines different lighting techniques, equipment, and creativity. Here are some tips for achieving perfect lighting for photography:
Tips 1: Plan ahead
Plan the lighting setup ahead of time and make sure to have all the necessary equipment ready.
Tips 2: Use a light meter
A light meter can help you measure the light and ensure the exposure is correct.
Tips 3: Be creative
Don’t be afraid to experiment and try new things. Use lighting to create mood, emotion, and drama in your images.
Conclusion
Lighting is a crucial aspect of wedding photography. It can make or break the images. Photographers can achieve stunning, memorable images by understanding the basics of lighting, choosing the right equipment, and using creative techniques. Whether you are a beginner or an experienced photographer, there is always room for improvement when it comes to lighting in photography. Remember to plan ahead, experiment, and have fun with your lighting setups.
Trust 50Gram Wedding’s talented photographers to capture the essence of your special day. With their keen eye for detail and ability to capture genuine moments, they create a visual narrative that beautifully tells the story of your love. Let them preserve the magic of your wedding through their exquisite photography.
FAQ
Lighting plays a crucial role in wedding photography as it can significantly impact the outcome of the images. Good lighting enhances the beauty of the photographs, sets the mood, and brings out the emotions of the wedding day.
There are several types of lighting equipment used in wedding photography. Some commonly used ones include speedlights, which are portable flashes attached to the camera; strobes, powerful off-camera flashes; and continuous lights, which provide a constant light source and are ideal for video and portrait photography.
Here are a few tips to improve lighting in wedding photography:
- Utilize natural light whenever possible, as it is flattering and beautiful.
- Avoid harsh light by shooting during the golden hour or in the shade.
- Use reflectors to bounce light and create a more even lighting effect.
Natural light offers versatility in wedding photography. Here are a few techniques to consider:
- Backlighting: Position the light source behind the subject to create a halo effect and highlight details.
- Silhouetting: Place the subject before a bright light source, such as the sun, for a dramatic, high-contrast image.
- Side lighting: Have the light source come from the subject’s side to add depth and texture to the image.
Artificial lighting can bring creativity and mood to wedding photography. Consider the following techniques:
- Light painting: Using a flashlight or light source to “paint” with light creates a magical and dreamy effect.
- Off-camera flash: Position the flash away from the camera for a more natural and flattering light.
- Coloured gels: Add coloured filters over the light source to create unique and creative looks.

