You’ve got the ring, the date is set, and the fun part is planning your wedding! As a DIY bride, you want to make your big day personal and memorable without pulling your hair out. Don’t worry; we’ve got you covered with 5 stress-free DIY projects you will enjoy doing. These creative projects will help you save money and add your special touch to the celebration, from crafting your own stationery to putting together centrepieces on a budget.

Get ready to roll up your sleeves, turn on some tunes, and dive into these DIY wedding details with your fiancé and bride tribe. Your guests will never guess how much time and money you saved doing it yourself! Take a deep breath from one DIY bride to another, and remember – your wedding should be fun, not frantic. With these hassle-free projects, you’ll be walking down the aisle quickly. Let the DIY adventures begin!
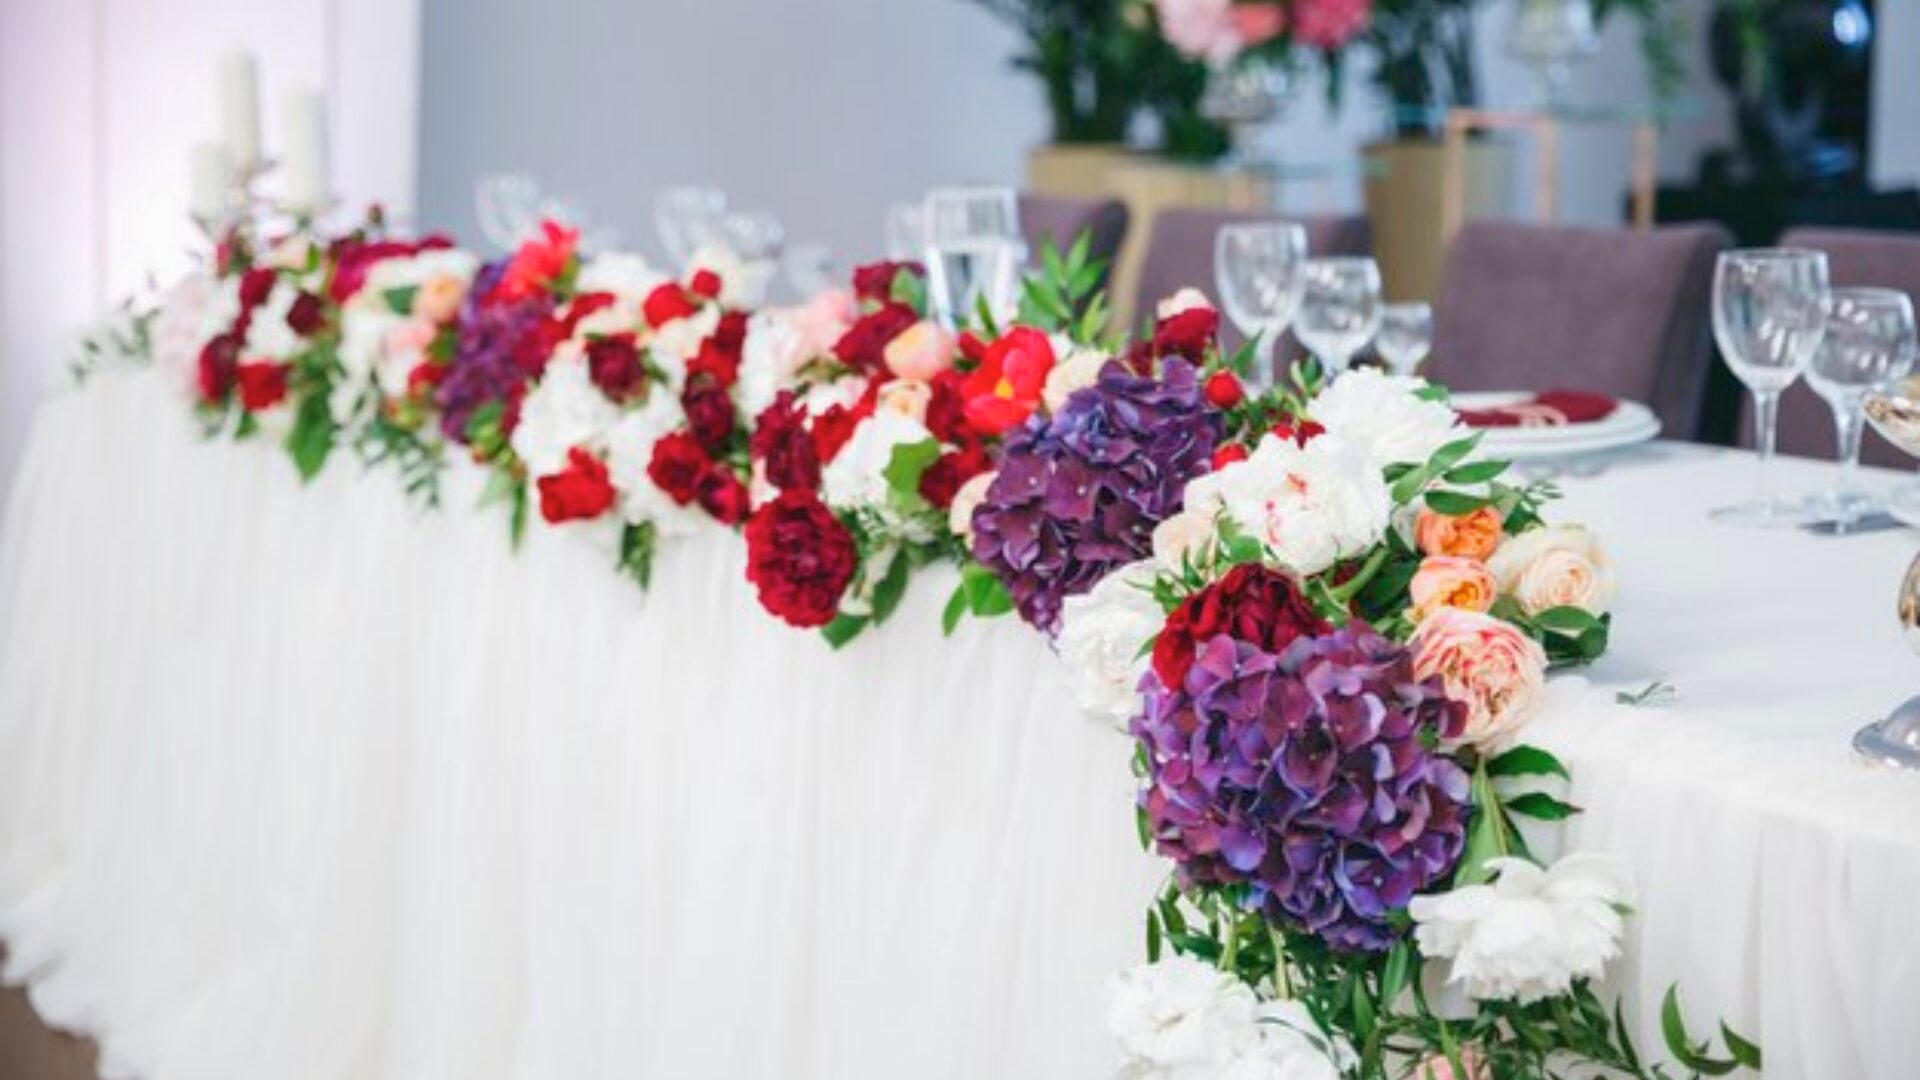
Easy DIY Wedding Centerpieces That Fit Your Theme
You want centerpieces that capture your wedding theme without maxing out your budget or stress levels. We’ve got you covered with these simple, stylish options you can easily make yourself.
A rustic wood slab makes a perfect base for your centerpiece. Head to a home improvement store and have them cut a slab to size. Then decorate it with wildflowers in mason jars, lanterns, candles or string lights for a cosy, natural look.
Get creative with fruits like lemons, limes or pomegranates. Slice them in half, hollow them out and fill them with flowers. The citrus scent is an added bonus! For an eclectic feel, combine multiple fruits and fillers in one centerpiece. These bright, aromatic creations are sure to be a conversation starter.
Remember to underestimate the power of candles. Gather pillar candles of varying heights, tie them together with twine or raffia and surround the base with greenery. The flickering glow creates an intimate ambience for your guests. Use sand, seashells and starfish to decorate the table around the candles for a beachy twist.
Paper flowers make a stunning, colourful focal point. Follow a tutorial to create tissue paper blossoms in your wedding colours and arrange them in a vase or basket. They look amazingly real without fresh flowers’ high cost and short lifespan. Your guests will be amazed you made them yourself!
With a little time and creativity, you can easily craft elegant centerpieces to complete the look of your dream wedding without blowing your budget. Focus on meaningful details, and don’t be afraid to get your hands dirty – your wedding will be all the more memorable!
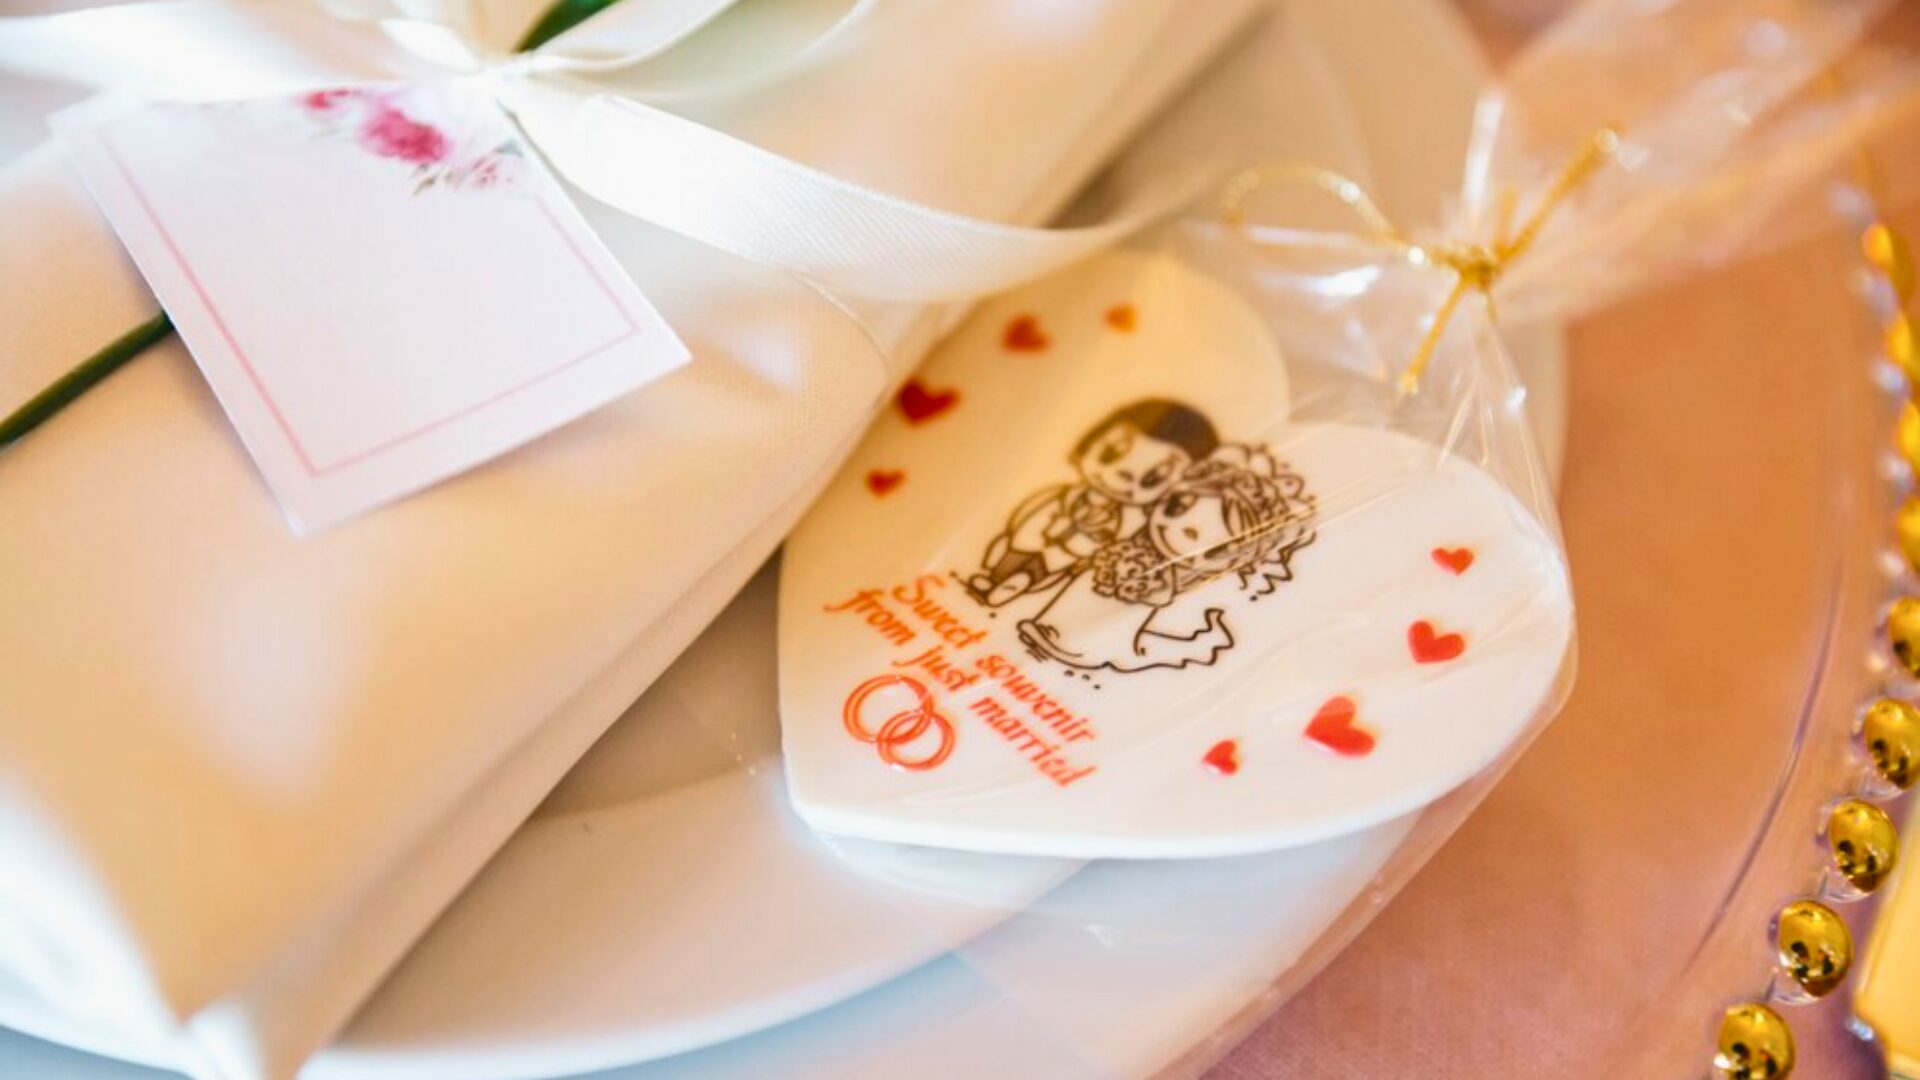
Budget-Friendly DIY Wedding Favors Your Guests Will Love
Want to add a personal touch without breaking the bank? DIY wedding favours are a great option. Here are a few budget-friendly projects your guests will adore:
Handmade Soap Bars
Homemade soap is always a welcome gift! Melt the glycerin soap base and pour it into moulds, then add dried flowers and essential oils for fragrance. Wrap the bars in pretty paper and ribbon. Your guests will love the rustic, homemade touch.
Cookie or Cake Pops
Everyone enjoys a sweet treat! Bake your favourite cookies or cake, crumble them into chunks, and form them into balls. Insert sticks and dip in melted candy coating or chocolate for a delicious DIY favour. For extra flair, decorate the handles with ribbons, string, twine, and a gift tag.
Photo Coasters
Sentimental and practical, photo coasters make wonderful keepsakes. Glue 4×4 prints of you and your sweetheart onto ceramic tile coasters. Apply a sealant to protect the photos. Your guests can enjoy drinks while gazing at your smiling faces.
DIY Tea
For a delightfully aromatic favour, blend your own loose-leaf tea! Combine orange peels, rose petals, mint, and black tea. Package the tea in glassine bags or small tins labelled with your name and wedding date. Your guests can unwind with a cup of your custom creation.
With a little time and effort, you can craft memorable wedding favours on a budget. Pick a project that matches your style and skills, then enlist friends to help assemble everything. Your guests will appreciate these heartfelt, homemade touches on your special day. Most of all, have fun with it! DIY projects should reduce stress, not create more. Keep things simple and focus on the joy of the journey.
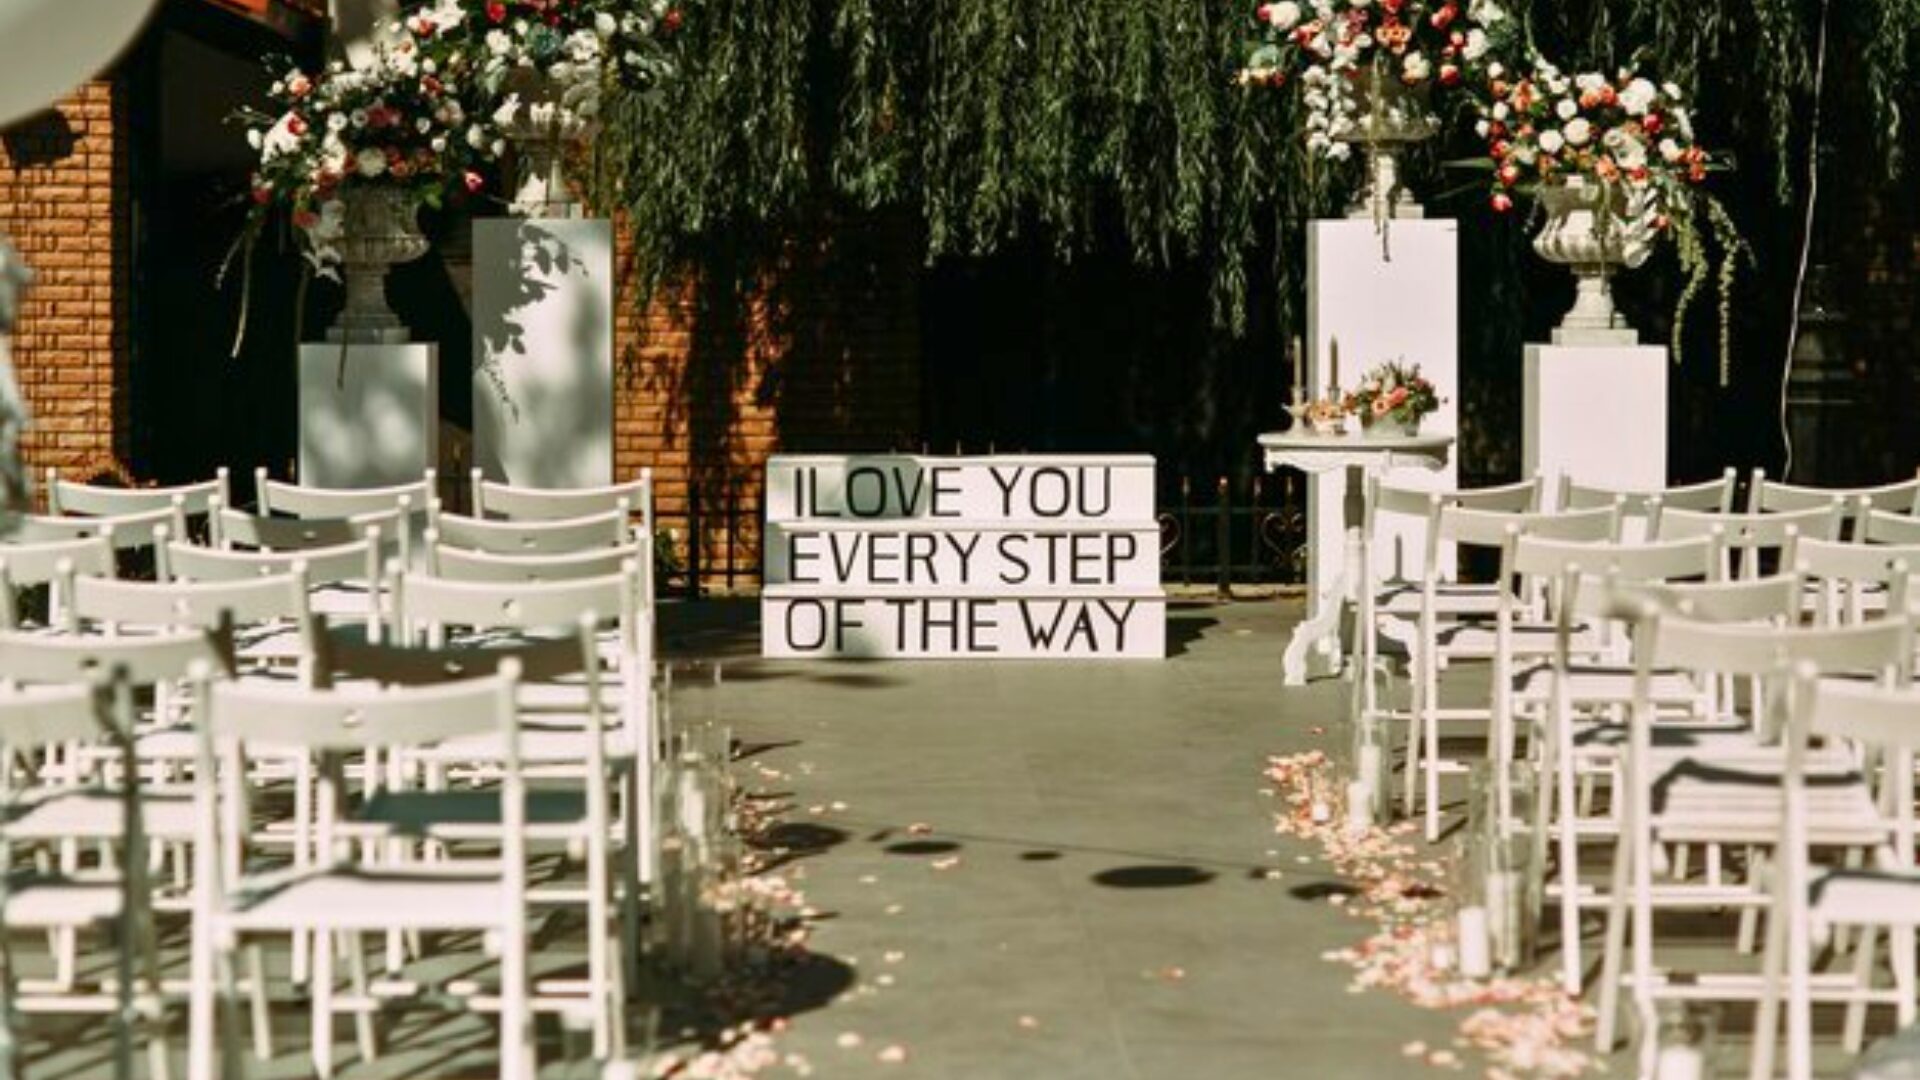
Quick and Simple DIY Signage for Your Reception
Want an easy win to make your reception space look professionally styled? DIY signage is a cinch to make and will impress your guests. All you need are basic supplies, creativity, and a free afternoon!
First, gather wooden boards, chalkboard paint, markers, stencils, and double-sided tape. You can find these at any craft store.
Next, paint one side of the boards with chalkboard paint and let dry as directed. This will give you a smooth, black surface to write on.
Once dry, use the stencils and chalk markers to make directional signs pointing to the bar, buffet, guest book, and restrooms. Freehand signs with “Eat, Drink & Be Married!” or your names and wedding date are perfect for the reception entryway.
Double-sided tape the signs to walls, doors, aisles, pillars, and anywhere else guests may need help navigating. No nails or damaging adhesive is needed!
For table numbers, paint the opposite side of the boards with regular paint or stain in your wedding colors. Once dry, stencil or freehand the table numbers. Place one board on each table for an instant custom look.
Lastly, use leftover boards to create a large welcome sign for your reception entrance. Stencil “Welcome to the Wedding of [Names]” and your wedding date at the top. Underneath, include your wedding hashtag and other info like unplugged ceremony requests.
In just an afternoon, you’ll have charming signage to direct and delight your guests. And the best part? You can keep and re-use these rustic signs in your home for years! Quick, simple, and stress-free—these DIY projects are perfect for any bride with her hands full of wedding planning.
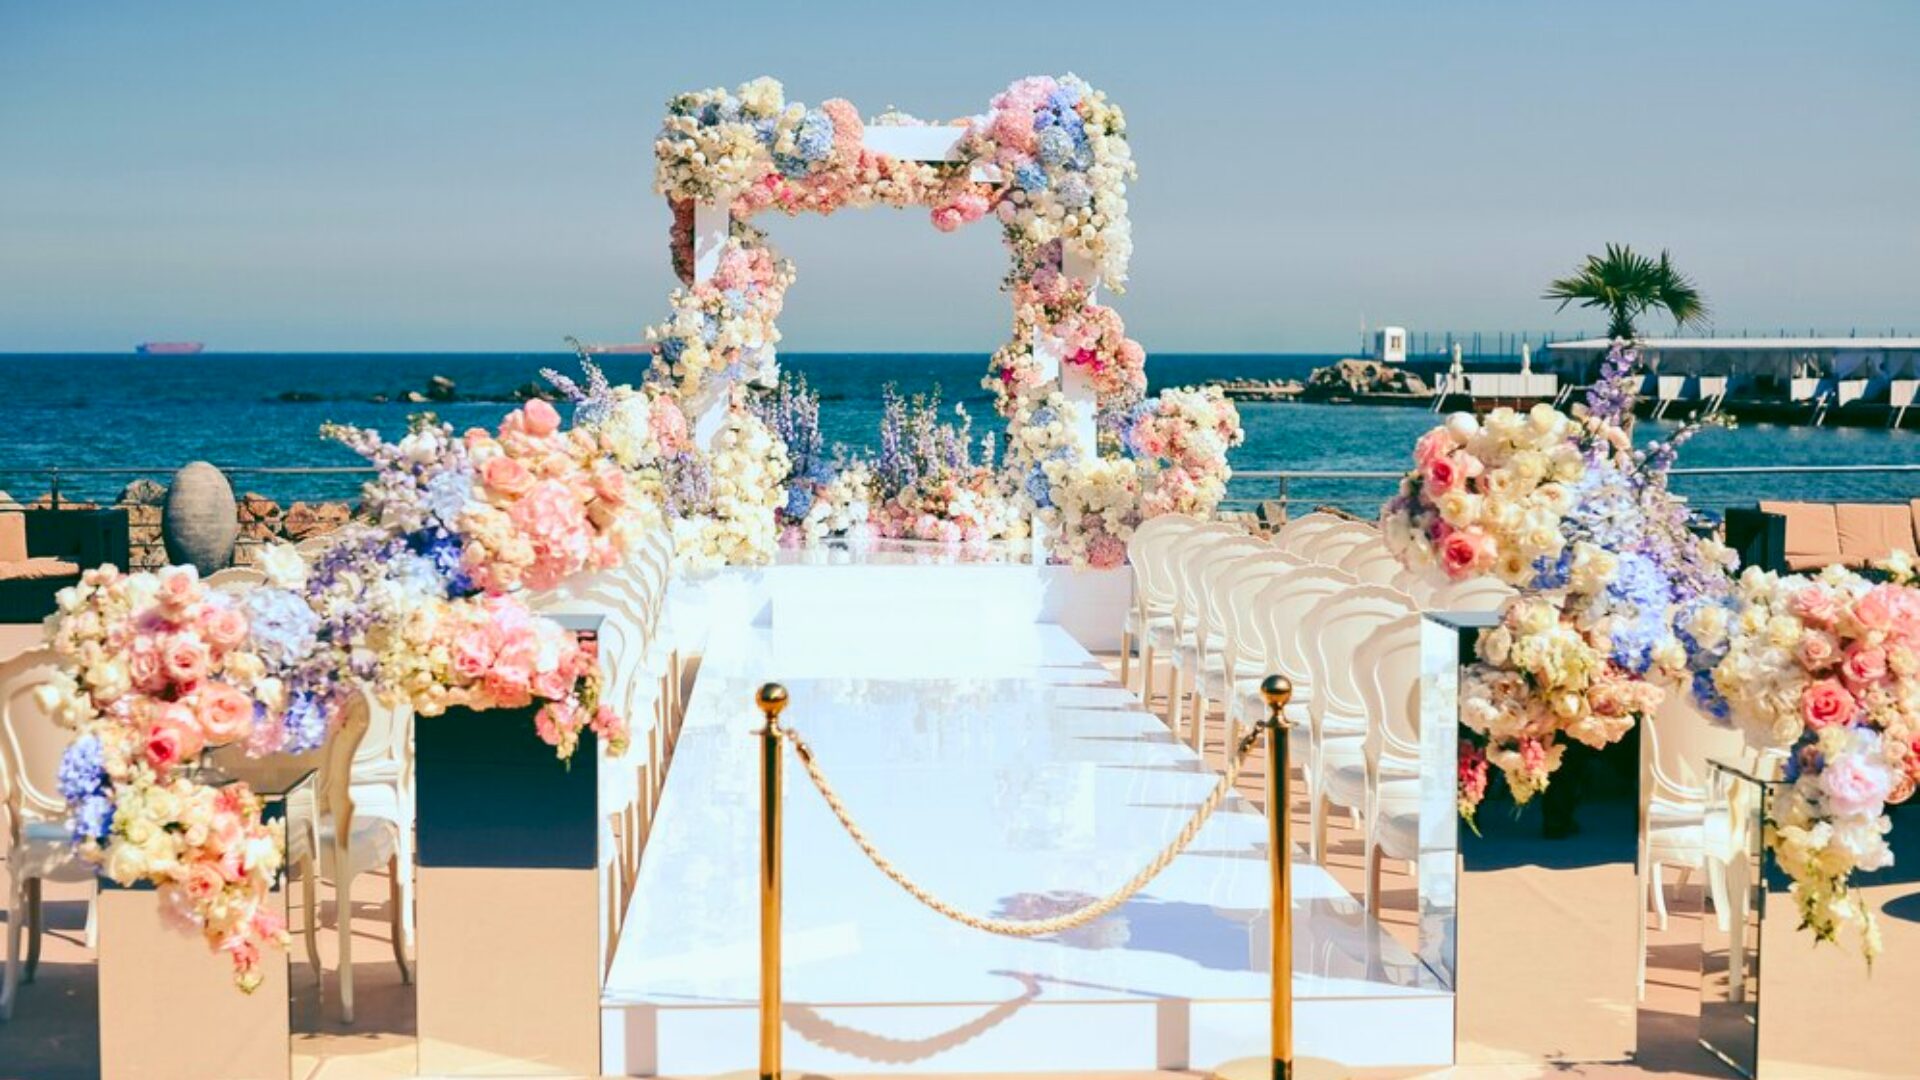
Stress-Free DIY Wedding Decorations to WOW Your Guests
Do you want to add some personal touches to your big day without extra stress? These DIY wedding decorations are simple yet gorgeous, and your creativity will surely impress your guests!
Pretty Paper Flowers
Paper flowers are an easy, budget-friendly DIY that brightens your reception space. You’ll need colored cardstock, scissors, tape or hot glue, and wire or string. Cut petal shapes, roll and tape the petals, then attach the petals to the wire. Group 3-5 blooms together in a bouquet for centerpieces or string them up as a whimsical garland. The options are endless!
Chalkboard Signs
Chalkboard signs are a charming way to display your seating chart, schedule of events, or guest book instructions. Buy pre-made chalkboard boards or wooden boards and paint them with chalkboard paint. Let the paint dry as directed, and then you’re ready to get creative with chalk. These signs can also double as decorations for your home after the wedding!
String Lights
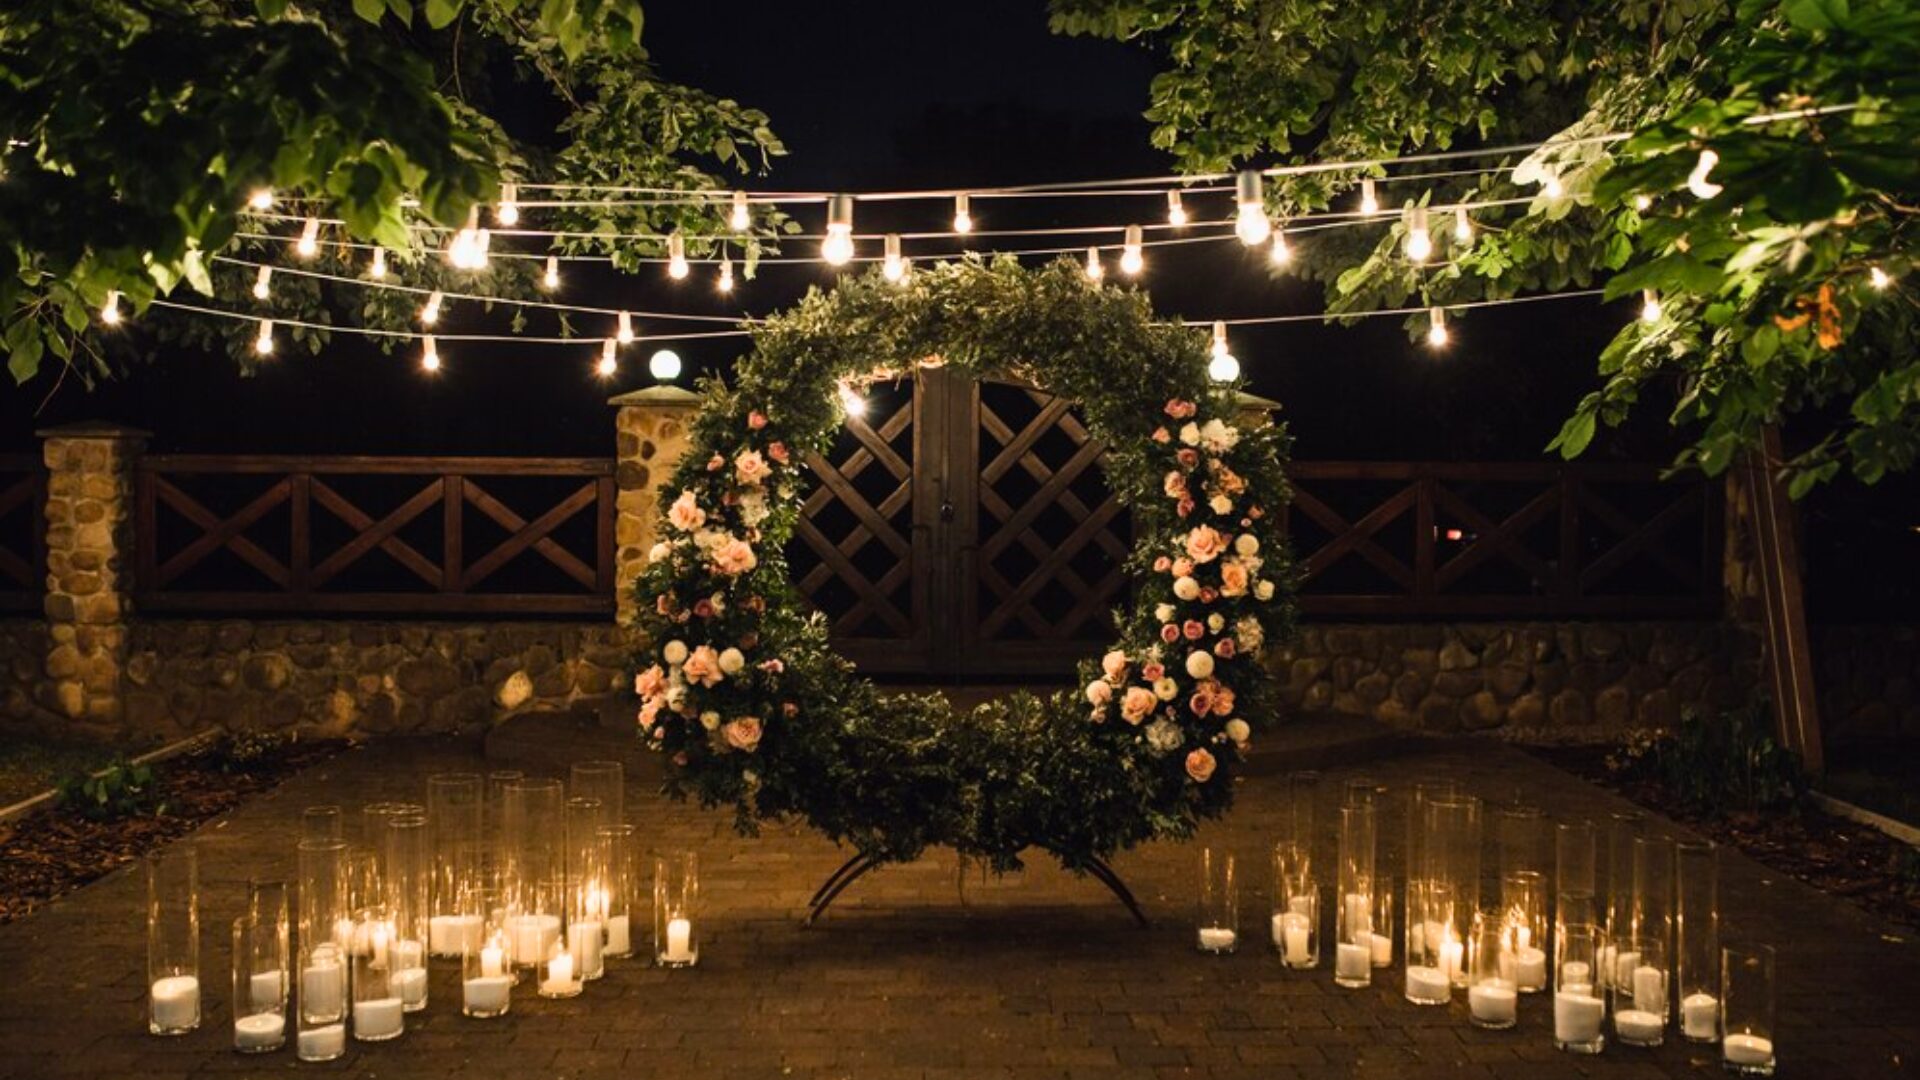
String lights instantly create a warm, romantic ambiance for an outdoor or indoor reception. You can find string lights at most craft or home improvement stores. Weave them through tree branches or hang them from a wooden frame for an outdoor wedding. Indoors, drape them along walls or hang them from the ceiling for a sparkling effect.
DIY Photo Booth
A DIY photo booth is fun to capture memories with your guests and provide some wedding entertainment. Set up a backdrop (fabric, balloons, flowers) and props (hats, glasses, moustaches) in front of a wide backdrop. Provide instant cameras and film for your guests to take photos of themselves. Create an album or slideshow of all the hilarious photos after your wedding!
With simple supplies and a little time, you can create memorable DIY decorations without maxing out your wedding budget or stress levels. Focus on projects you’ll genuinely enjoy, and don’t hesitate to ask friends and family for help. Your wedding day will be here before you know it, so take a deep breath and enjoy it! These decorative touches will help make your wedding uniquely you.
Fun and Meaningful DIY Wedding Photo Backdrops
Creating fun and meaningful DIY photo backdrops for your wedding photos is necessary! Your photos will capture memories from your special day that will last a lifetime. Why not make the backdrops personal and unforgettable? Here are some cheerful DIY backdrop ideas you’ll love:
String lights
String up outdoor string lights or Edison bulbs for a dreamy, romantic look. Drape the lights in whimsical swag or straight lines. Add paper lanterns in your wedding colours for extra pops of colour! Your photos will glow under the cosy lighting.
Floral explosion
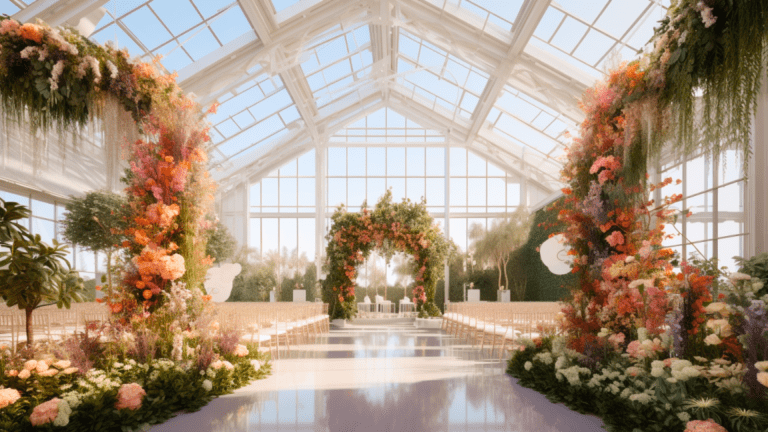
Create a lush floral wall with fresh blooms or paper flowers in your wedding colors. Have friends help arrange the flowers on a wooden wall or trellis. The sweet floral scent will make you smile, and your photos will be beautiful.
Chalkboard love
Get a large chalkboard and have guests write loving messages and wishes for the new couple. Have the wedding party pose in front of the heartfelt notes – your photos will capture the joy and support surrounding you on your wedding day.
Balloons
Blow up some different-sized balloons and group them together for an uplifting backdrop. Secure the balloons to stakes in the ground to keep them in place. Your photos will be whimsical and carefree against a sky of balloons.
Paper pinwheels
Make colorful pinwheels from cardstock and attach them to wooden stakes in the ground. The spinning pinwheels will make a festive, whimsical backdrop for fun, playful photos.
Creating DIY backdrops is an easy, budget-friendly way to make your wedding photos personal and meaningful. Your photos will be even more special with these handcrafted backdrops highlighting the love and joy surrounding your new marriage! Get crafty and have fun with it – your wedding photos will thank you!
Conclusion
You’re almost at the finish line – you’ve planned the perfect DIY wedding, and now enjoy the fruits of your labour! Step back to admire all the details you’ve poured your heart and soul into, from the handmade decorations to the personalized vows. Your guests will be blown away by your creativity and the love you’ve woven into every aspect of the day. Most of all, you’ll get to marry the person of your dreams, knowing you crafted an unforgettable experience together. Congratulations – you did it! Now, take a deep breath and get ready to start the rest of your lives as a happily married couple. The DIY journey was totally worth it!
FAQ
The article suggests using rustic elements like wood slabs decorated with wildflowers, mason jars, lanterns, or candles. Additionally, using fruits such as lemons, limes, or pomegranates as creative vase substitutes, and incorporating candles or paper flowers, offers stylish yet affordable centerpiece options.
The blog provides ideas like handmade soap bars, cookie or cake pops, photo coasters, and custom-blended tea. These favors are budget-friendly and add a personal touch to the wedding.
The article describes a simple process using materials like wooden boards, chalkboard paint, markers, and stencils. These can be used to create functional directional signs, table numbers, and welcome signs, which add a personal charm to the reception.
Suggestions include wallpaper flowers, chalkboard signs, string lights, and a DIY photo booth. These decorations are simple to make, cost-effective, and can significantly enhance the ambiance of the wedding venue.
The blog recommends ideas like string lights with paper lanterns, a floral wall, a chalkboard with guest messages, balloon arrangements, and paper pinwheels. These backdrops are visually appealing and make the wedding photos unique and personal.

