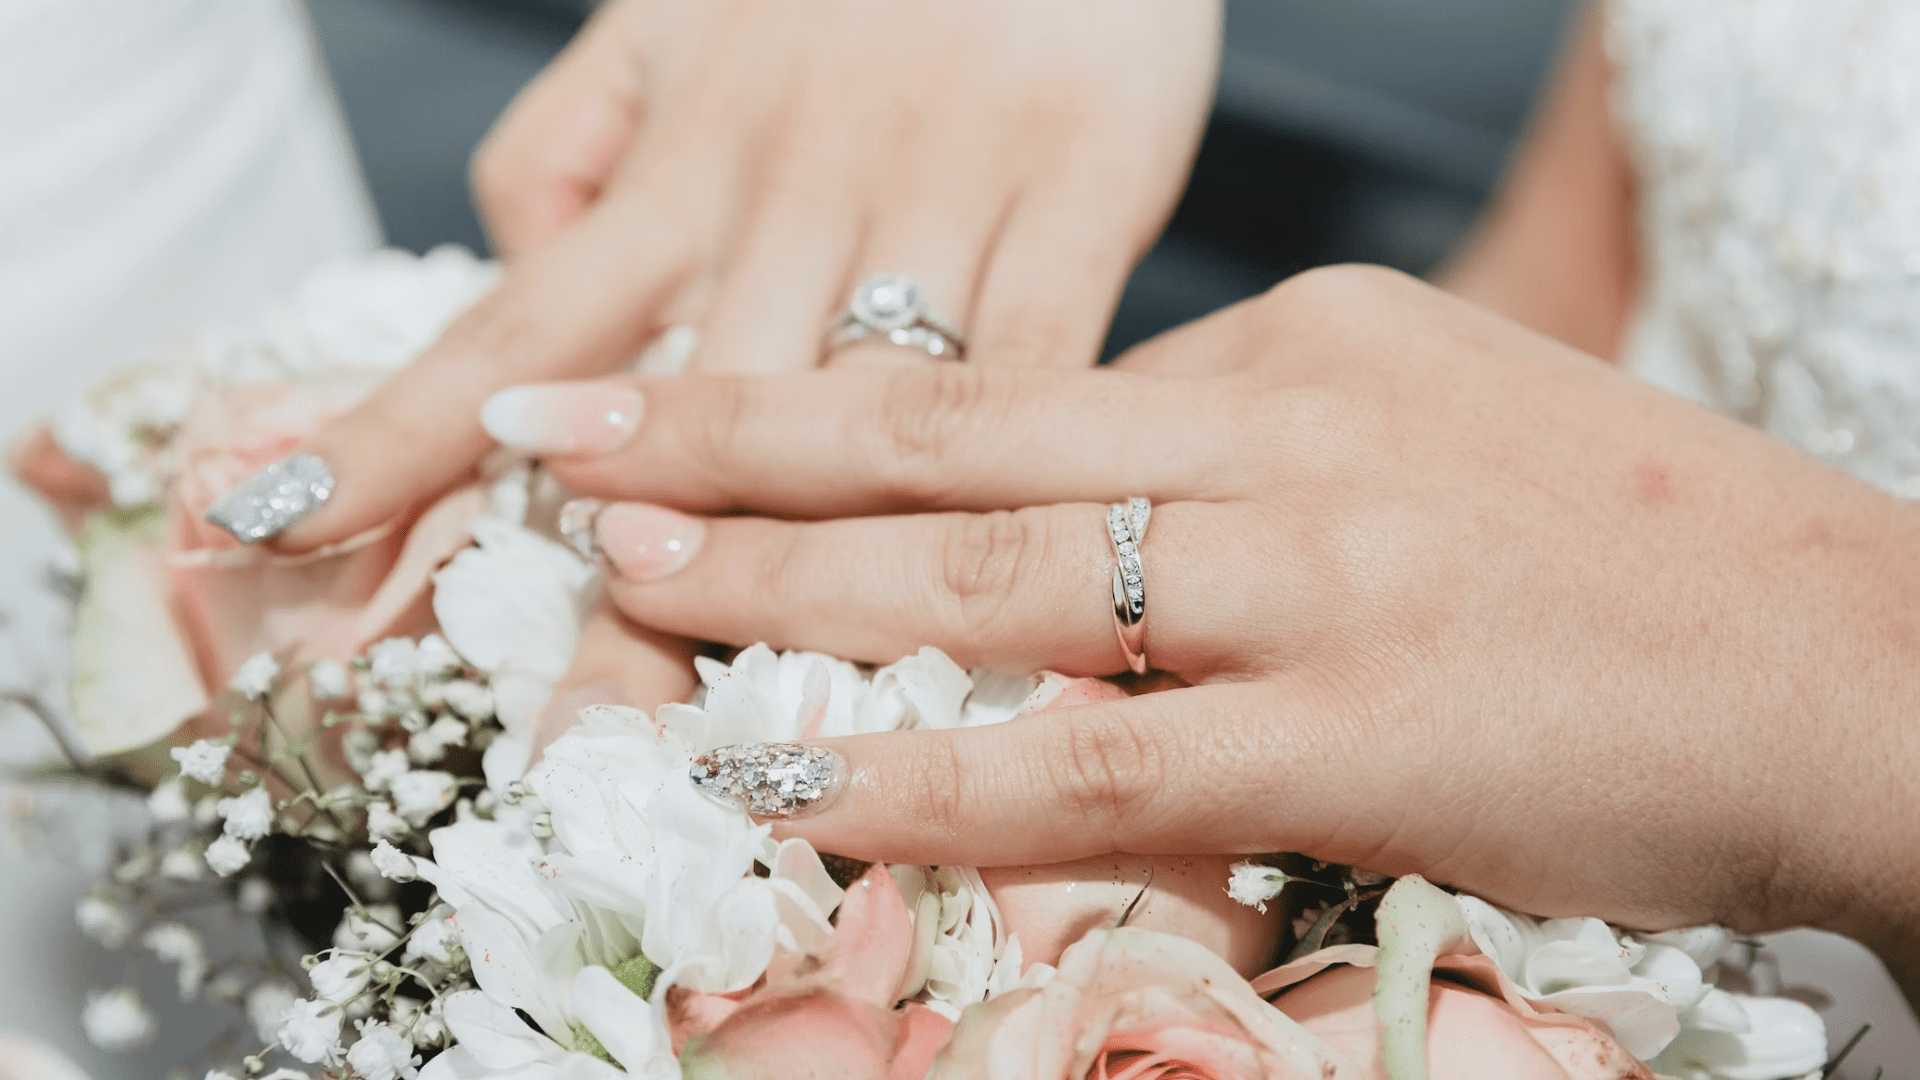
You’re busy planning one of the biggest days of your life – your wedding! There are many details to consider, from the venue to the dress to the cake. It’s easy to overlook small but important details in all the excitement. One of those is your manicure. Your wedding photos will capture your hands, your rings, and any imperfections. You want your nails to look as stunning as the rest of you on your big day.

Avoiding common wedding manicure mistakes will ensure your nails complement your look rather than detract from it. With some advanced planning and double checking a few key things, your wedding manicure can be as flawless as the rest of your appearance. Keep reading to discover the top wedding manicure mistakes you must avoid!
Choosing the Wrong Nail Shape for Your Hands
Choosing a nail shape that flatters your hands is key. An almond or oval shape is universally flattering and elegant for most brides. However, if you have short and stubby fingers, avoid a square shape, making them appear even shorter. An almond shape helps create the illusion of length.
A square or squoval shape balances them out nicely for long, thin fingers. An oval shape also works well for any hand. Avoid a stiletto or sharp pointy shape, which typically only suits certain hand types and can seem overly dramatic or harsh for a wedding.
Most importantly, your nails complement your hands and make you feel confident and beautiful. Don’t choose a shape just because it’s on trend or what your bridesmaids are getting. This is your wedding day, so go with what you love!
When getting your manicure, ask your technician for a shape that will flatter your hands and fingers. They are the experts and can suggest options based on your unique hands and the overall look you’re going for. An almond, oval or rounded square are classic, timeless shapes that photograph well and you won’t regret.
Keep nails a manageable length, especially if you’re not used to long nails. You want to avoid snags in your dress or veil and be able to do things like slide on your rings, sign the registry and lift a champagne glass with ease! Longer nails, while glamorous, can prove challenging on your wedding day.
Stick with a shape and length you feel comfortable with. Your nails should enhance your hands, not distracting or hindering your big day! Focus on clean, crisp lines and a smooth finish for nails that will shine in your wedding photos and memories for years.
Not Testing Your Wedding Manicure Ahead of Time
Oh brides, listen up! There’s nothing worse than spending hours perfecting your wedding manicure only to have it chip or smudge right before walking down the aisle. Avoid disappointment and panic on your big day by testing your manicure ahead of time.
Not Giving Your Nails a Trial Run
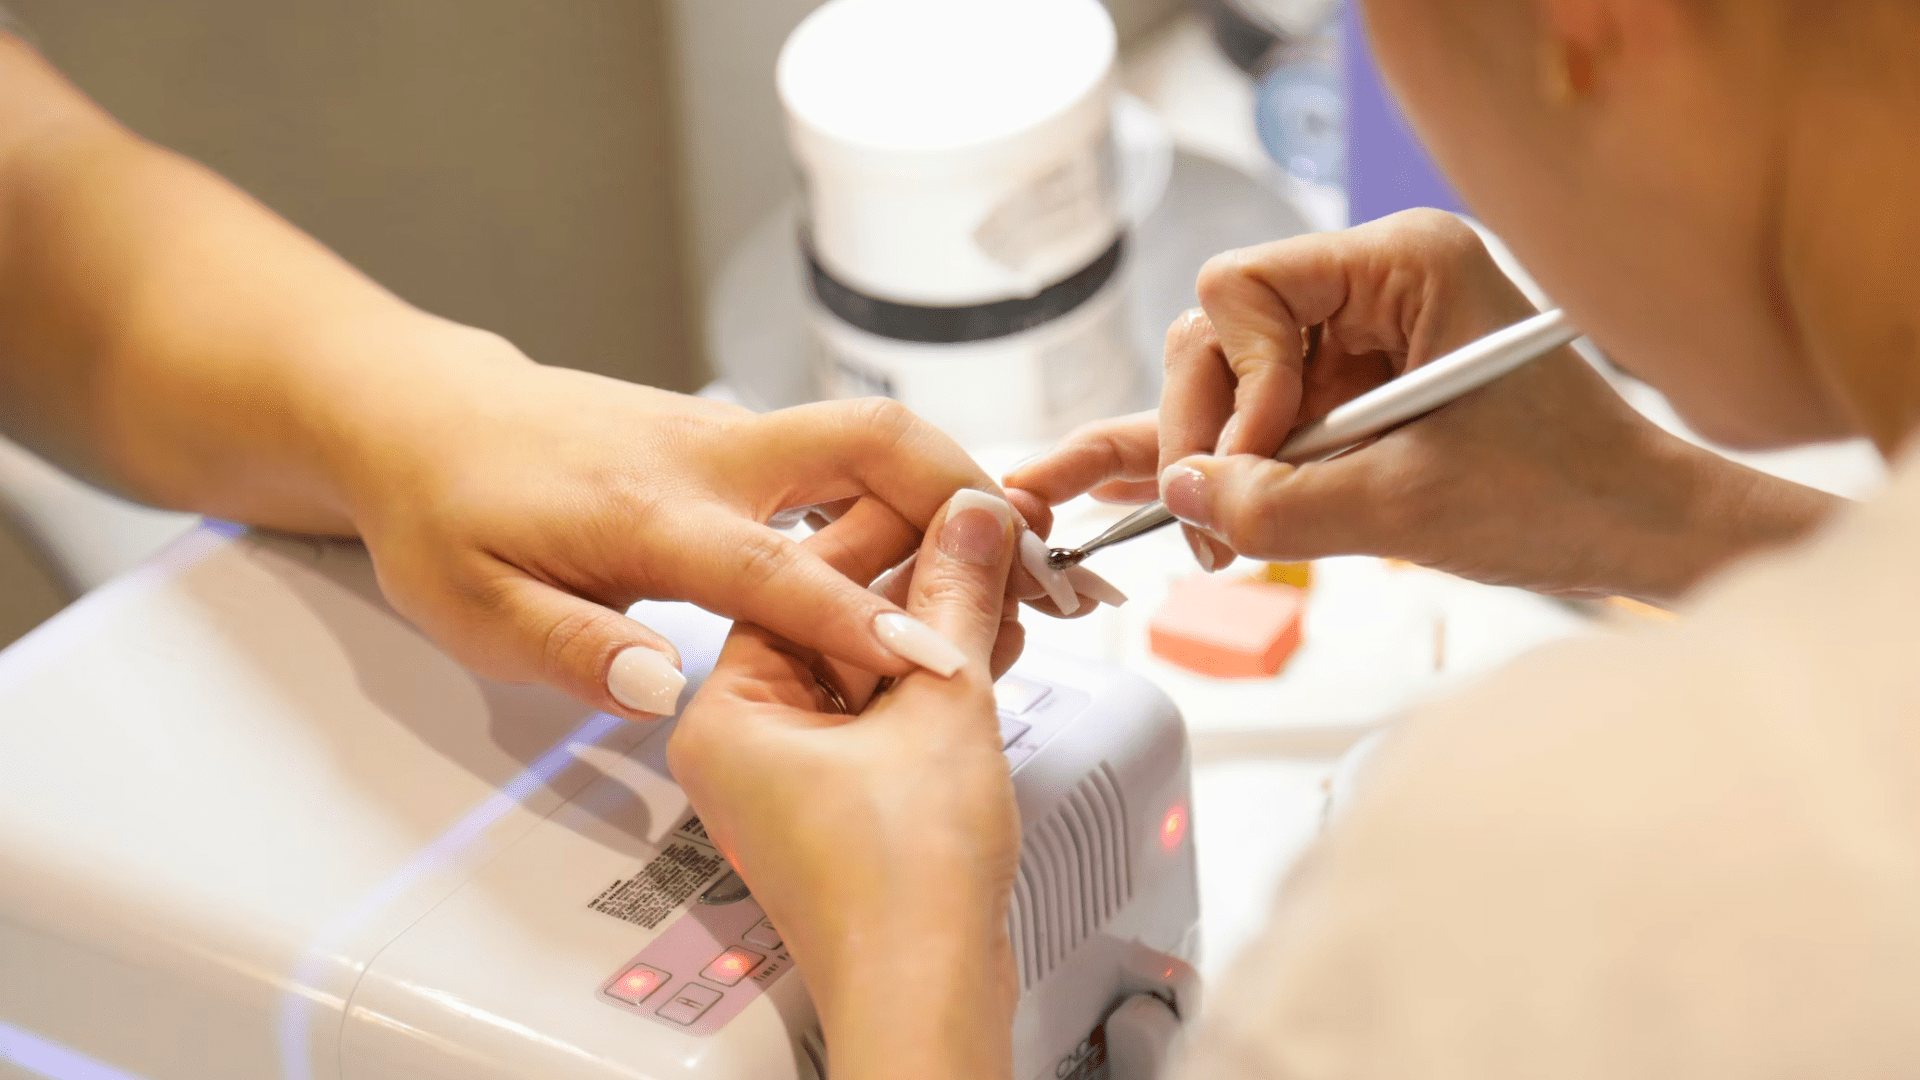
Giving your nails a trial run, ideally 1-2 weeks before the wedding, is crucial. Get the same manicure you plan for the wedding and go about your normal activities. See how your nails hold up to daily chores, typing, and dressing. Look for any chips, cracks, or wear and make notes so your nail tech can make adjustments for the real deal.
Better safe than sorry! A test run gives you peace of mind that your nails will be flawless for your ceremony and photos. And think of the memories you’ll make – laughing with your bridesmaids as you check on your manicure’s durability. Those moments of joy and humour will make the day even more special.
With a trial run under your belt, have your final manicure done 2-3 days before the wedding. Your nails will look fresh and perfect, but with enough time, you will feel free if any minor touch-ups are needed. Most importantly, walk down that aisle confident your nails look stunning and will last through your first dance and beyond!
Other tips include:
- Choosing a neutral or pale pink shade that complements your skin tone.
- Avoiding dark colors that show chips and stains more easily.
- Using a protective top coat.
Remember, preparation and patience are key. With the right mindset, even little wedding stresses can become cherished memories. Best of luck to you, bride-to-be! May your nails and your day be flawless.
Opting for Trendy Nail Art That Won’t Last
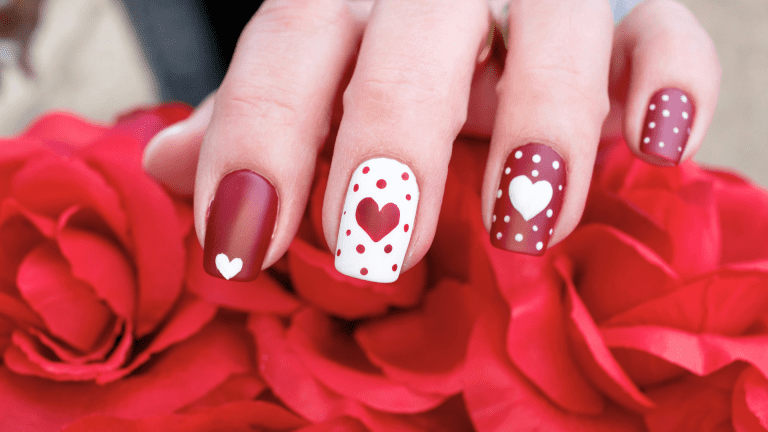
Brides, I know the temptation to go all out with an intricate nail design for your big day is real. After all, it’s your wedding and you want every detail to be magazine-worthy, including your nails! But before you commit to an elaborate nail art concept that may not even last through your ceremony, hear me out.
An overly complex or dimensional nail design with lots of little details, gems, or accessories is difficult for even the most skilled nail technician to execute and make last. As a bride, your hands will be on display all day – waving, hugging, dancing – and those little nail gems have a habit of popping off at the worst times. You want to spend your wedding day on something other than a missing gem or whether your nail art is still intact.
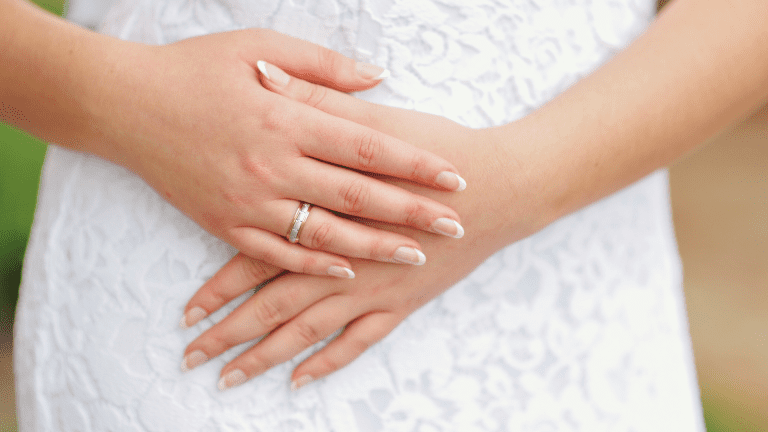
Rather than an intricate design, consider a simple coat of your favourite colour or neutral pinks and nudes which complement your skin tone. A single gem or small cluster at the base of the nail or on an accent nail is a subtle way to add a pop of glamour that won’t overwhelm the design or your day. Classic colors in creams, pinks and reds are always stunning and timeless choices for brides.
Apply a top coat sealant to keep your nails looking fresh for wedding photos. Ask your nail tech to use a no-chip top coat, which helps prevent dings and smudges. You’ll also want to avoid water exposure for several hours after your manicure and be very gentle with your hands to avoid denting or scratching the polish. With some care and a classic, minimal design, your manicure will look as flawless in your wedding photos as walking down the aisle. Focus on enjoying this special time – your nails will be the perfect, subtle accessory.
Keep your wedding day manicure simple, classic and carefree. Your nails should enhance your beauty, not distract from it! A minimal, neutral design is elegant and guaranteed to last through your most memorable day.
Forgetting to Moisturize and Prep Your Nails
Congratulations, bride-to-be! Your wedding day is fast approaching, and it’s time to start planning your wedding manicure. A flawless manicure will make you feel like a princess on your big day. But with so much going on, it’s easy to make little mistakes that can ruin your perfect nails. Avoid these common wedding manicure blunders, and you’ll have a smile as radiant as your nails!
The week before your wedding, start moisturizing your hands and nails daily to hydrate them and push back your cuticles. Exfoliate to remove any dead skin. Then apply a rich hand cream, cuticle oil, or ointment and massage it in. This prep work will make your nails and the surrounding skin silky smooth for your manicure. It also reduces the chances of hangnails or dry, cracked cuticles ruining your look.
Bring your favourite hand cream to the salon for your manicure. Have the technician apply it after filing and shaping your nails but before the polish application. The cream will moisturize your nails and the skin around them, creating the perfect base for your polish. Your nails and hands will feel pampered, and the polish will glide on flawlessly.
With wedding planning stress and lots of hand washing, it’s easy for your nails to become dry and brittle. Remember this important step, or you may end up with chips or cracks in your manicure on the big day! A simple thing like keeping your nails and the skin around them hydrated can make a difference in how your wedding manicure looks and lasts.
To have gorgeous nails that match your wedding glow, pamper your hands and nails in the days leading up to your manicure. Moisturize daily, exfoliate and push back your cuticles. Your nails will thank you, and you’ll have a wedding manicure worth swooning over!
Not Scheduling Touch Ups Before Your Wedding Day
As your wedding day approaches, it’s easy to get caught up in all the big details and forget some of the little touches that make a difference. One of these often overlooked details is scheduling a manicure touch up appointment 1 to 2 days before you walk down the aisle. Skipping this final appointment can lead to chips, cracks, or even complete nail disasters on your big day!
Chipped polish doesn’t photograph well
Professional wedding photos capture every detail of your look, including your nails. Chipped or cracked polish will be glaringly obvious in your wedding photos and may leave you less than thrilled with the results. Save yourself the disappointment and schedule a final manicure touch-up to ensure pristine nails in your pictures.
Your nails take a beating during wedding prep
The days leading up to your wedding are filled with setting up, attending your rehearsal dinner, packing for your honeymoon, and a million other tasks that can put stress on your nails. A final manicure touch-up will buff away any chips or imperfections, and apply a fresh coat of your wedding polish colour so your nails look as flawless as the rest of your bridal beauty look.
Peace of mind for your big day
As a bride, the days before your wedding can be filled with emotions. Scheduling a final manicure appointment provides one less thing to stress over and gives you the peace of mind of knowing your nails will be camera-ready for your trip down the aisle. Your nail technician can also perform any last-minute nail repairs to avoid surprises on your wedding day.
Avoiding a final manicure touch-up is a mistake many brides regret. For flawless nails and one less thing to worry about, schedule an appointment with your nail salon 1 to 2 days before you say “I do” for the perfect wedding manicure. On your wedding day, you’ll be glad you did!
Conclusion
You’ve spent months planning your dream wedding, and the big day is just around the corner. Don’t let a messy manicure ruin your walk down the aisle or wedding photos you’ll cherish for years. Avoid common mistakes like chipping, smudging, or an unflattering colour; your nails will be as radiant as your smile. Treat yourself to a professional manicure at least 2 days before the wedding. Ask for a strong topcoat to prevent chips, and let each coat dry completely. Choose a classic colour that complements your skin tone and wedding palette. With advanced planning and the right techniques, your manicure will last through your honeymoon and beyond. Focus on what really matters – celebrating your love and new life together. Your nails will shine as brightly as your future.
FAQ
An almond or oval shape is universally flattering and elegant for most brides. It creates the illusion of length and complements most hand types.
Testing your manicure, ideally 1-2 weeks before the wedding, allows you to see how your nails hold up to daily activities. It helps you avoid disappointment and panic on your big day by ensuring your manicure won’t chip or smudge.
Schedule a final manicure touch-up appointment 1 to 2 days before your wedding to buff away any chips or imperfections. This ensures pristine nails in your wedding photos and provides peace of mind knowing your nails are camera-ready.
Instead of intricate designs that might not last, consider simple coats of your favorite color or neutral pinks and nudes. A single gem or small cluster can add a pop of glamour without overwhelming the design or your day.
Opt for a strong topcoat to prevent chips, and let each coat dry completely during the manicure process. Also, choose a classic color that complements your skin tone and wedding palette. Your manicure will last through your honeymoon with the right techniques and planning.

